


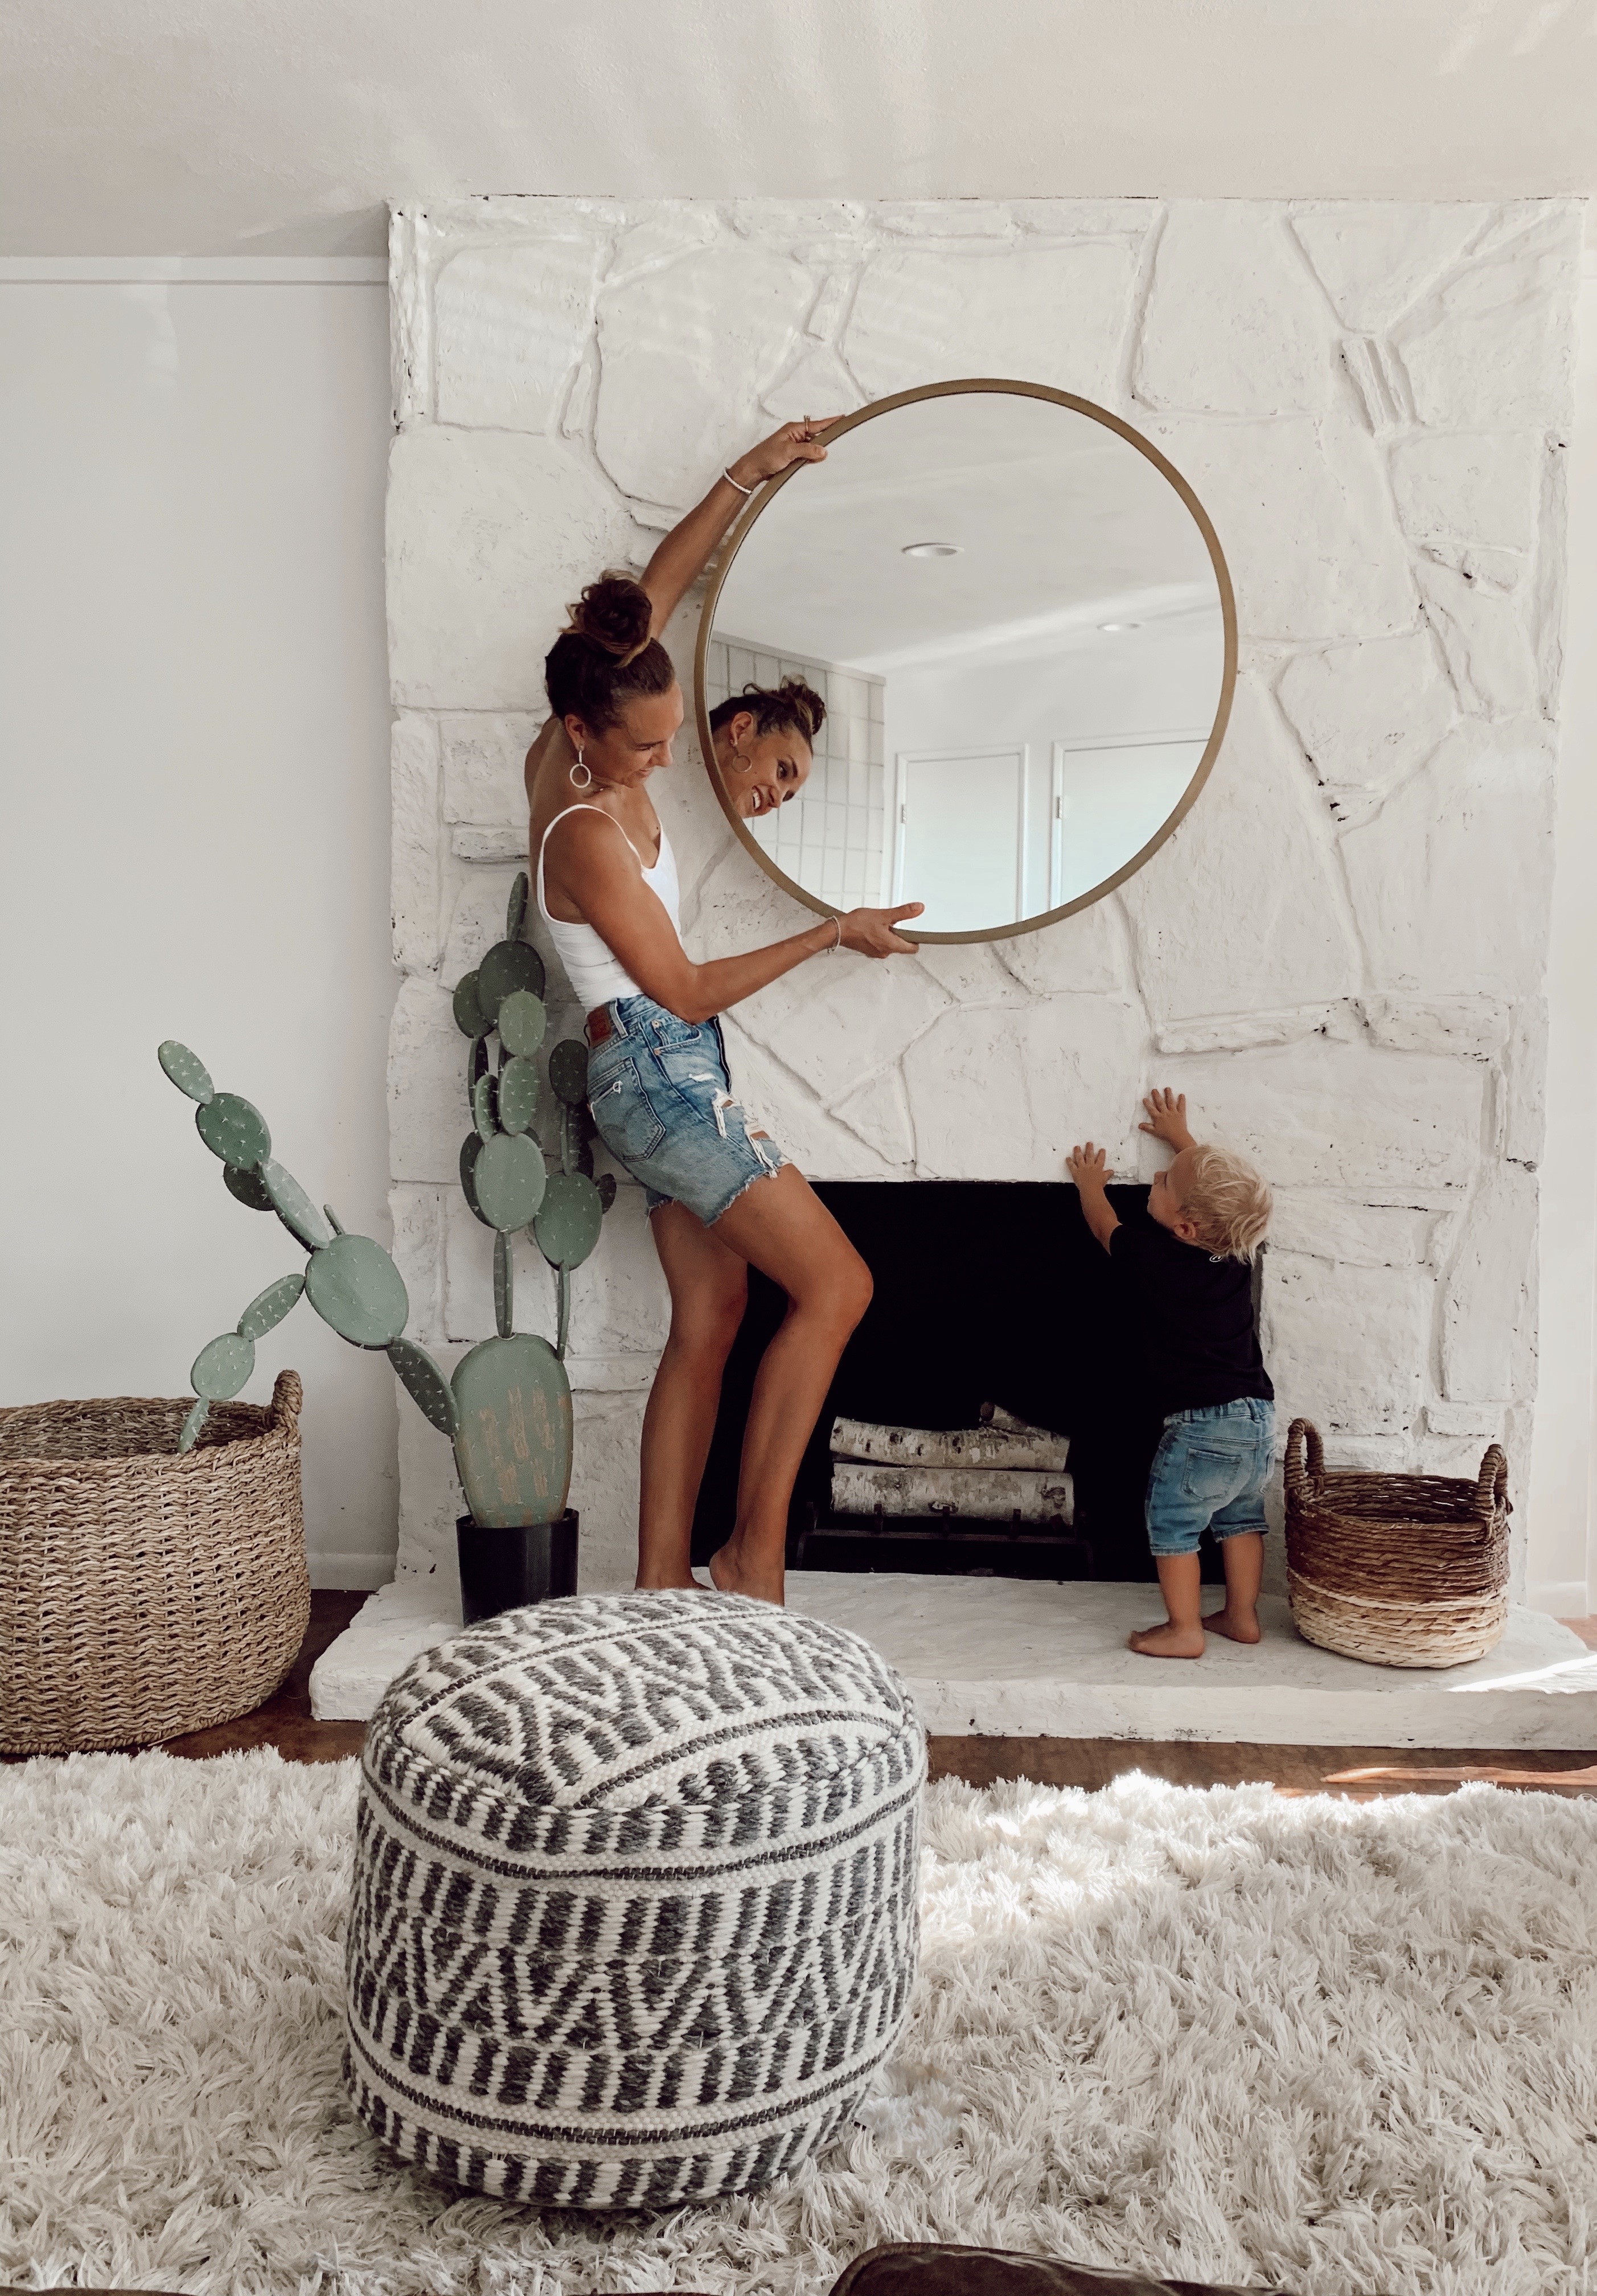
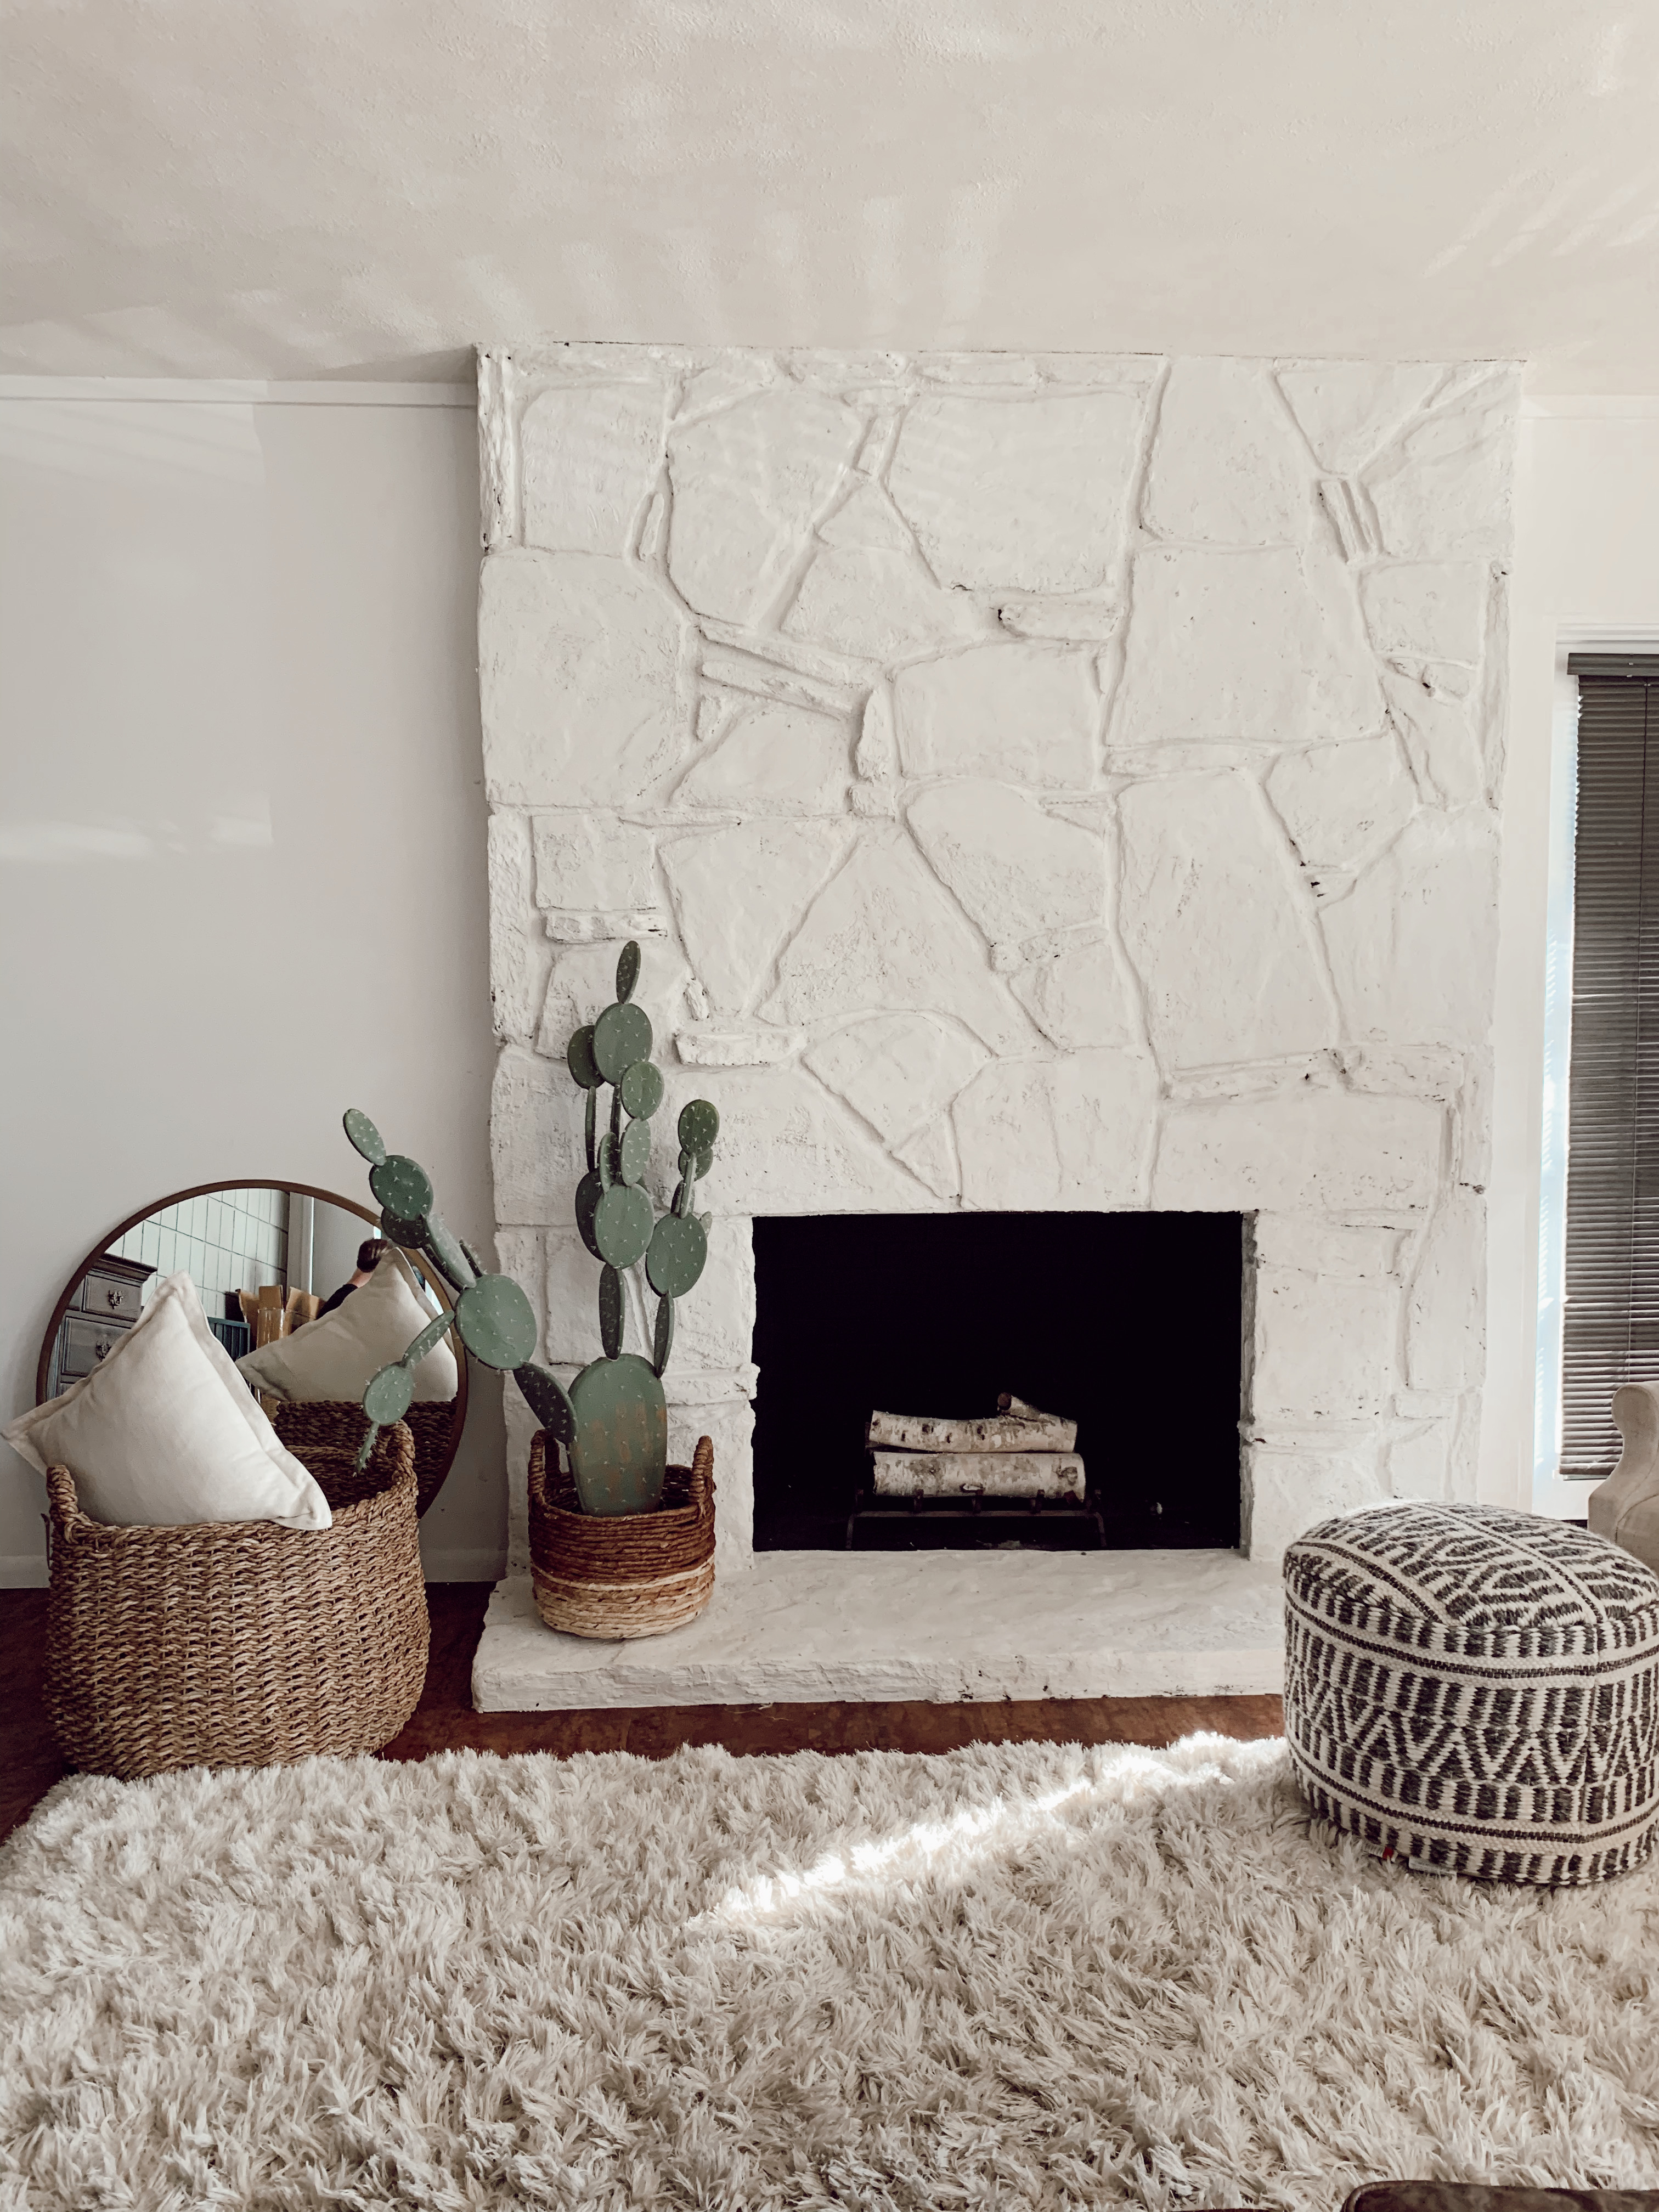
Large basket // Floor Pouf // Two-toned basket // Shag rug // Gold Mirror // Similar Cactus // Faux fiddle leaf fig
German Shmear
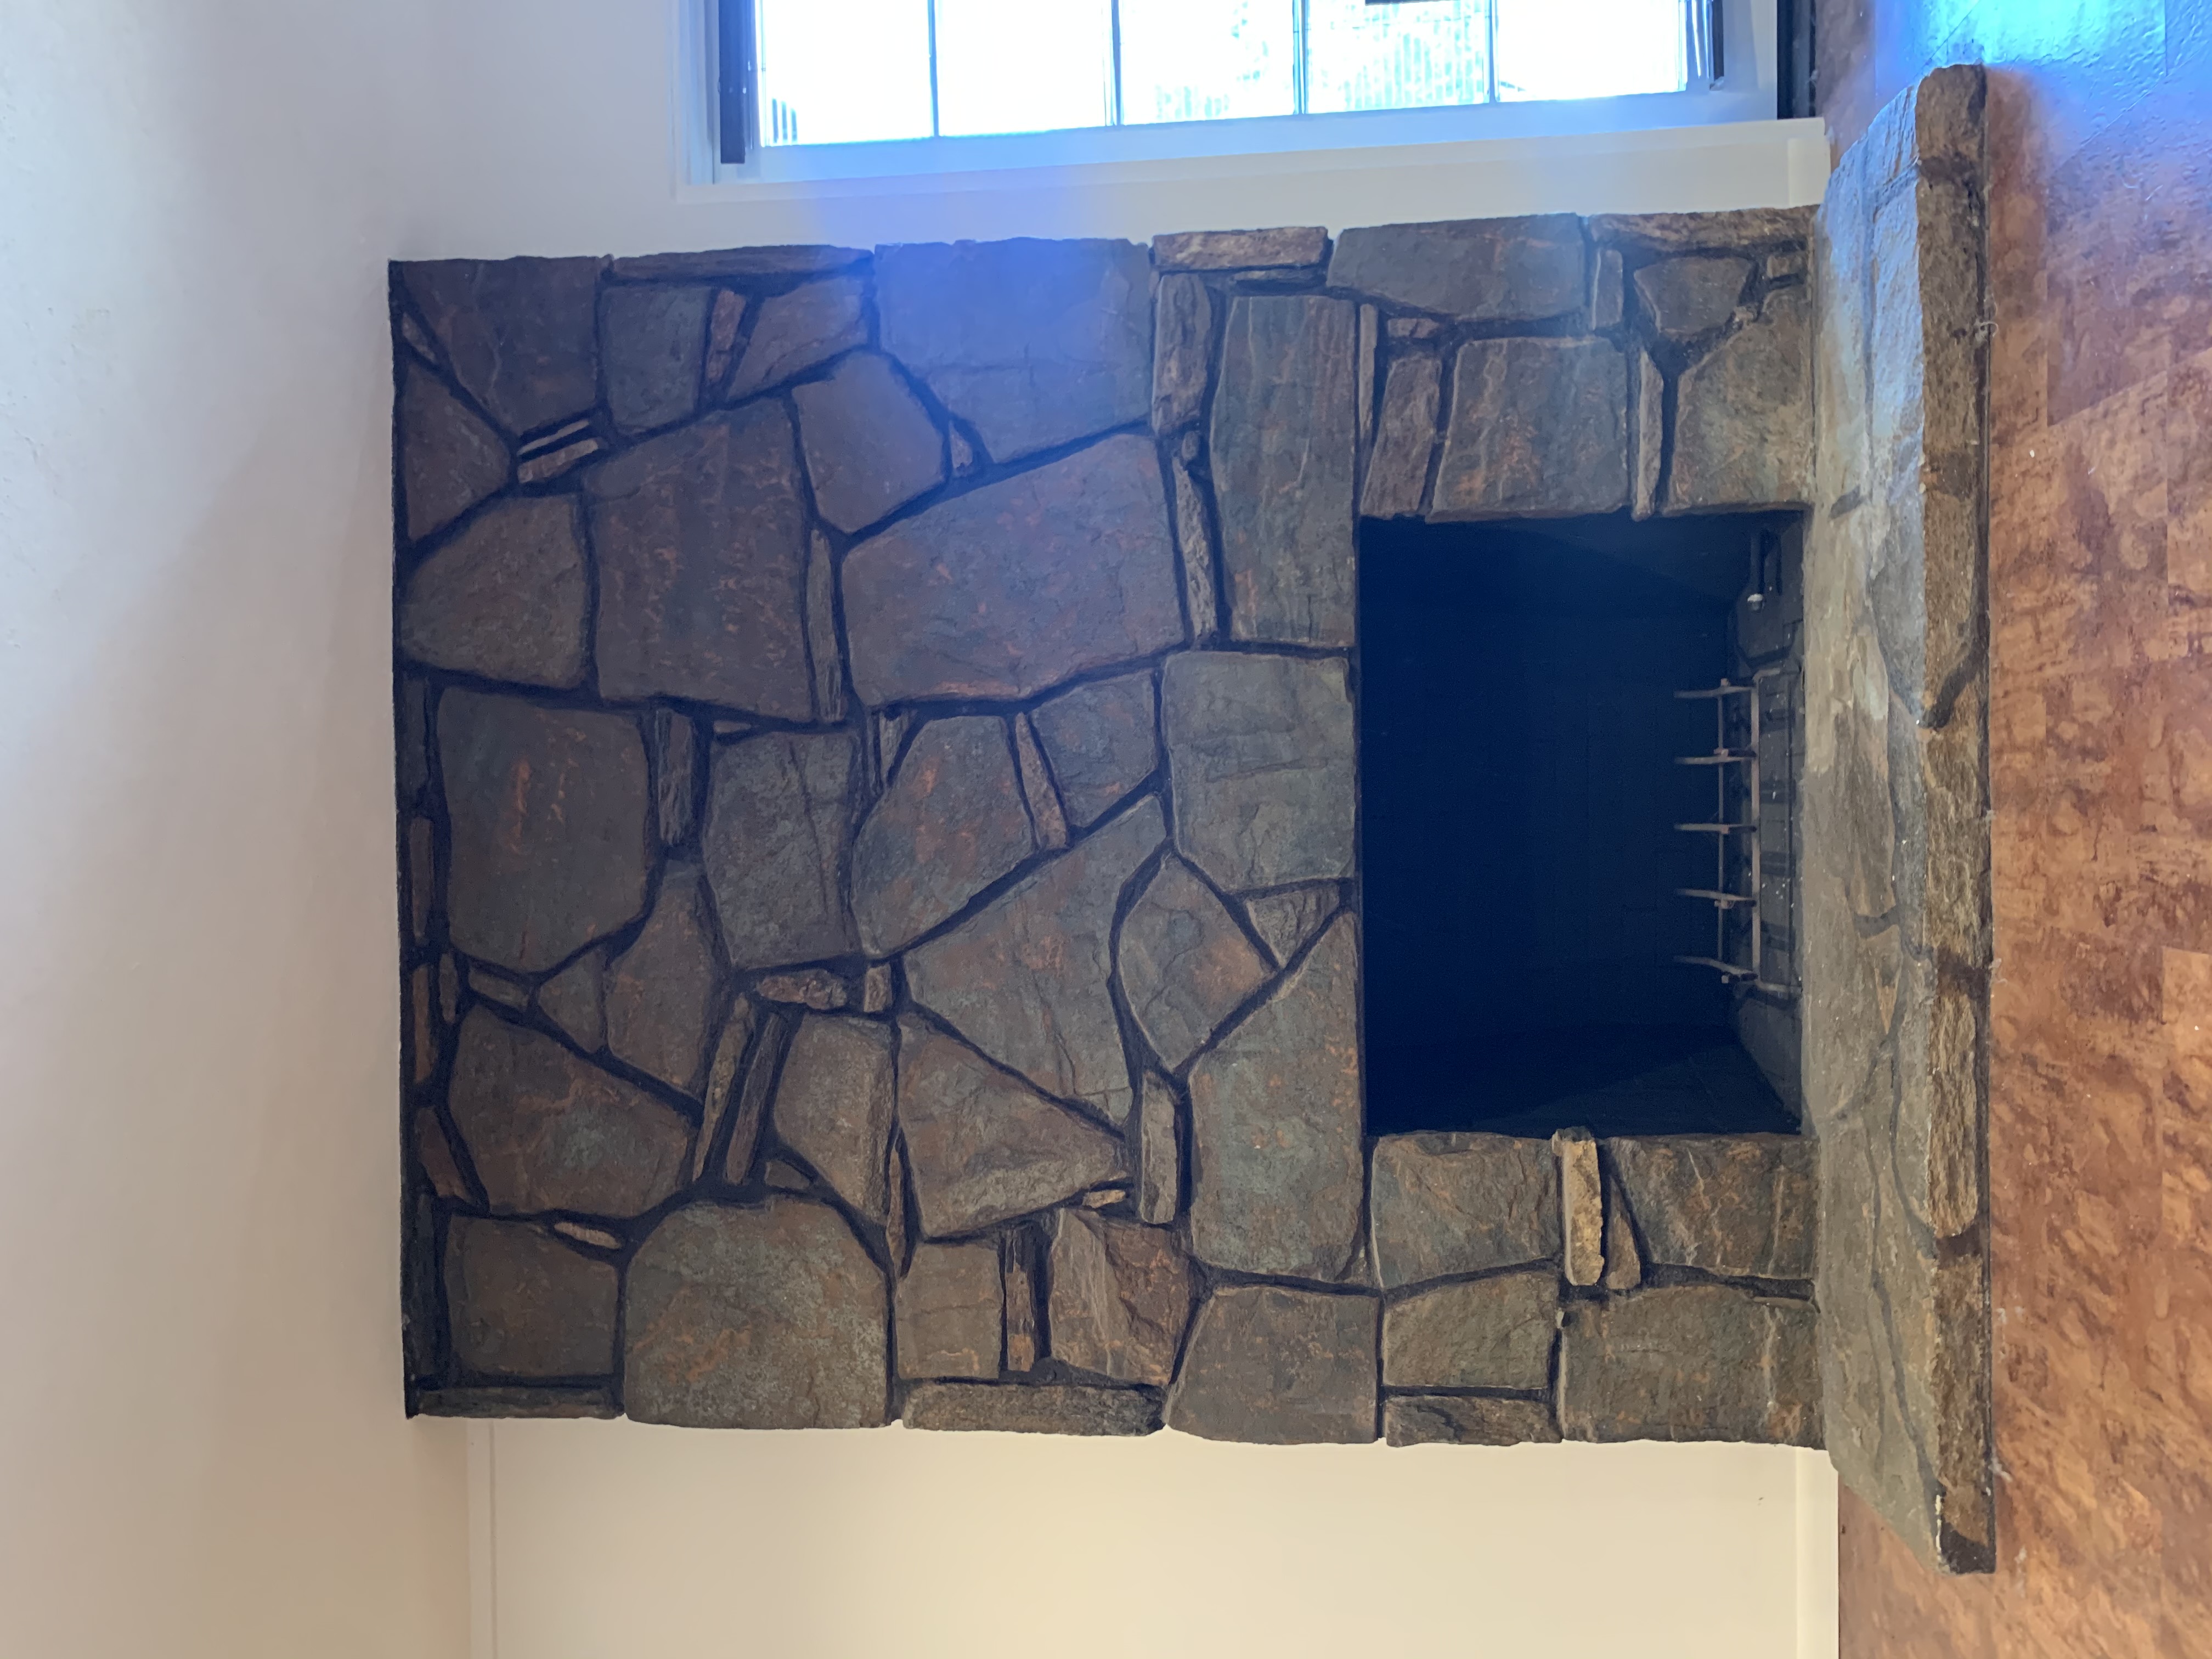
Our basement room has a beautiful view of the mountains, but the space needed some love. First up, our plans were to refresh the dark and drab stone fireplace. Reid was hesitant covering up the natural stone at first but after cleaning the surface we noticed the previous owners must have altered the stone somehow.
So with that, we took the German Shmear plunge. I’ll admit You Tube and Pinterest helped A LOT in convincing us to take the dive. Yes, everyone is doing this right now and I still worry 20 years from now we will look back and say, ”why did we do this”?
Without risk, you will have no reward and frankly, design is a risk. So take the risk, my friends.
Here is a quick shopping list and step by step German Shmear process.
Shopping List
o Mortar (Tile Grout) – We used white. (White is typical for German Shmear)
o Mixing Bucket
o Mixing Stick or Drill Bit
o Big Sponges
o Cheap Paint Brushes (They will get destroyed)
o Rubber Gloves (This is very messy)
o Painters Tape
o Trowel and or Spackle
o Putty knife
o Ziploc Bags
Process
1. Wash surface with water, bristle brush and sponge.
2. Protect surrounding area with painter’s tape. We used flatten cardboard boxes to lay around the hearth for protect.
3. Mix mortar per package direction. Mix to a consistency of thick frosting.
4. Use brush to spread mortar onto surface. Brushes work well for smooth surfaces. But honestly your hands work the best. So don’t be afraid to just dig in and shmear. We put Ziploc bags on our hands and literally grabbed the mortar and slapped it onto surface. Fill grout marks so that the mortar is flush with the stone/brick surface. A trowel and spackle tool can also be used. Beware, this is messy. But we are washable. (The mortar also is water soluble and does clean up with a wet rag pretty easily, just in case)
5. Let mortar dry per package directions
6. Just before mortar is complete dry. Take wet sponge and brush entire surface till smooth, to your liking. This is where the artist comes out. Some like it rough and some like it smoother. Go ahead and express yourself. Exactly like styling an outfit.
7. Remove the protective barriers and Viola! A masterpiece.
Great job! You are now a pro!
Tag me in your DIY photos. I would love to see how your spaces turn out.