The mild temps are making a comeback here in the south. I know it’s still taking a bit of time for the rest of the country, but don’t get impatient, the warmth is coming. You will be out on your patio in no time. With the spring season fast approaching, we decided to make some furniture upgrades to our pool deck.
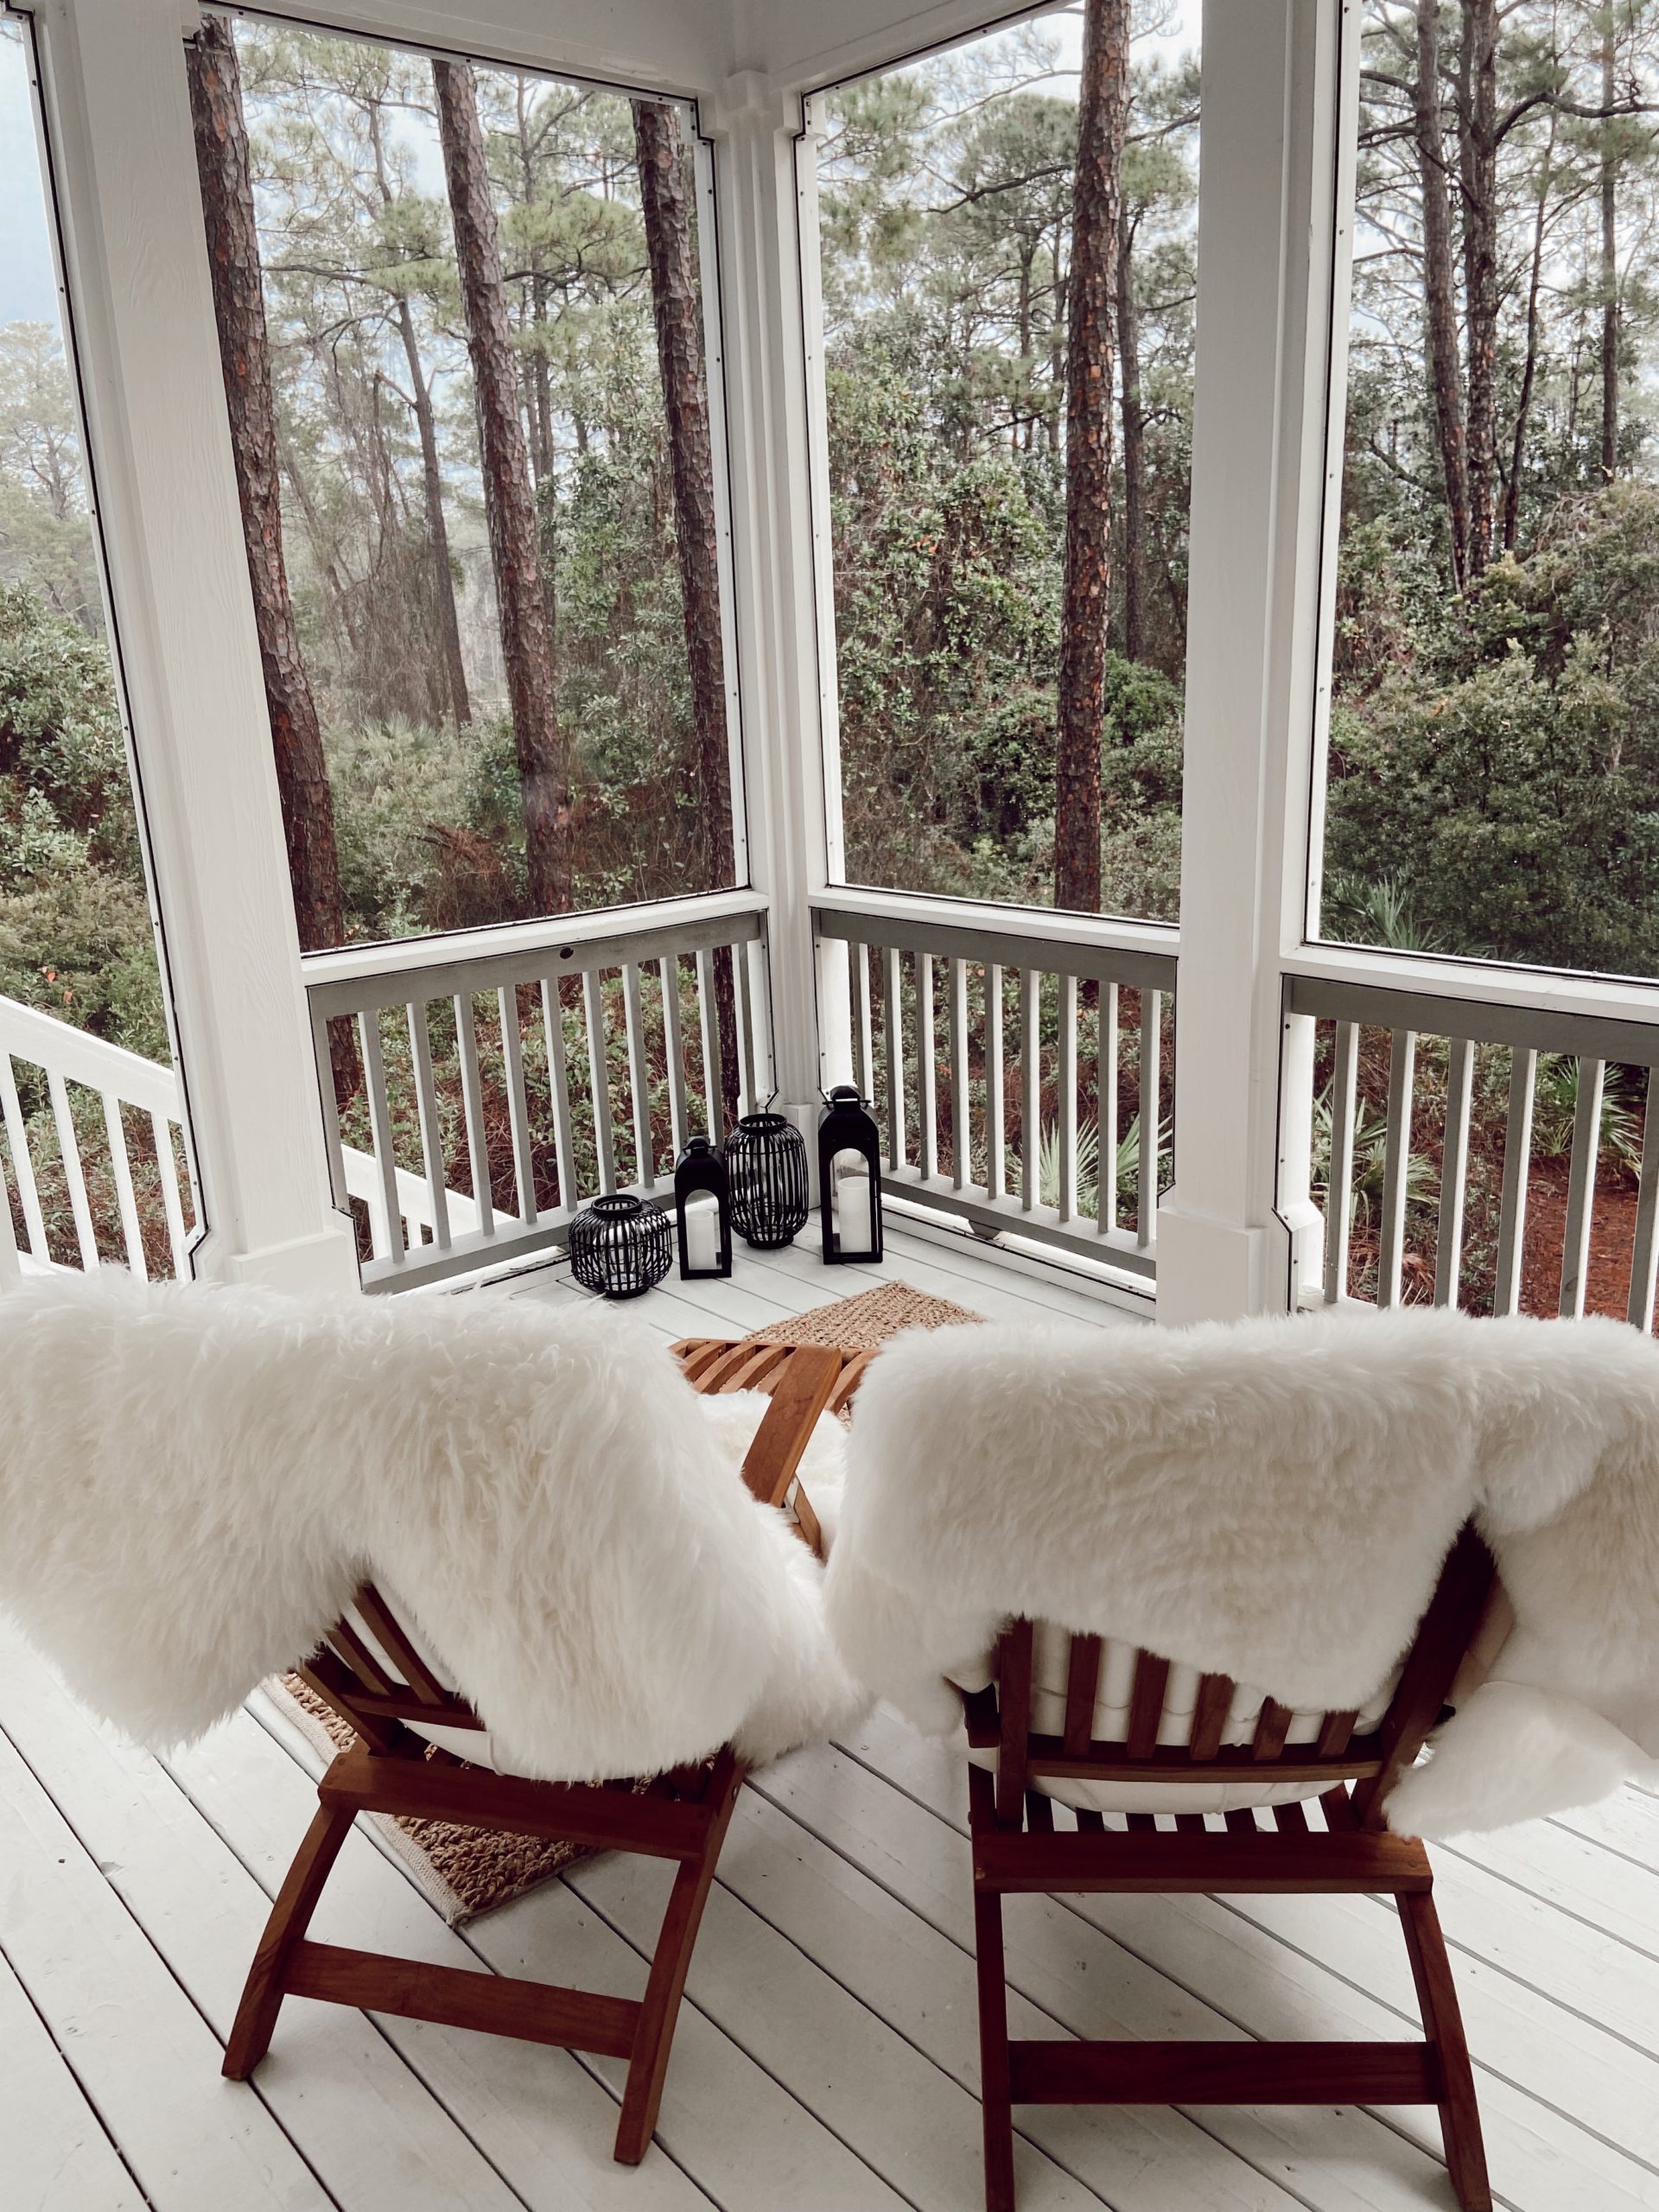
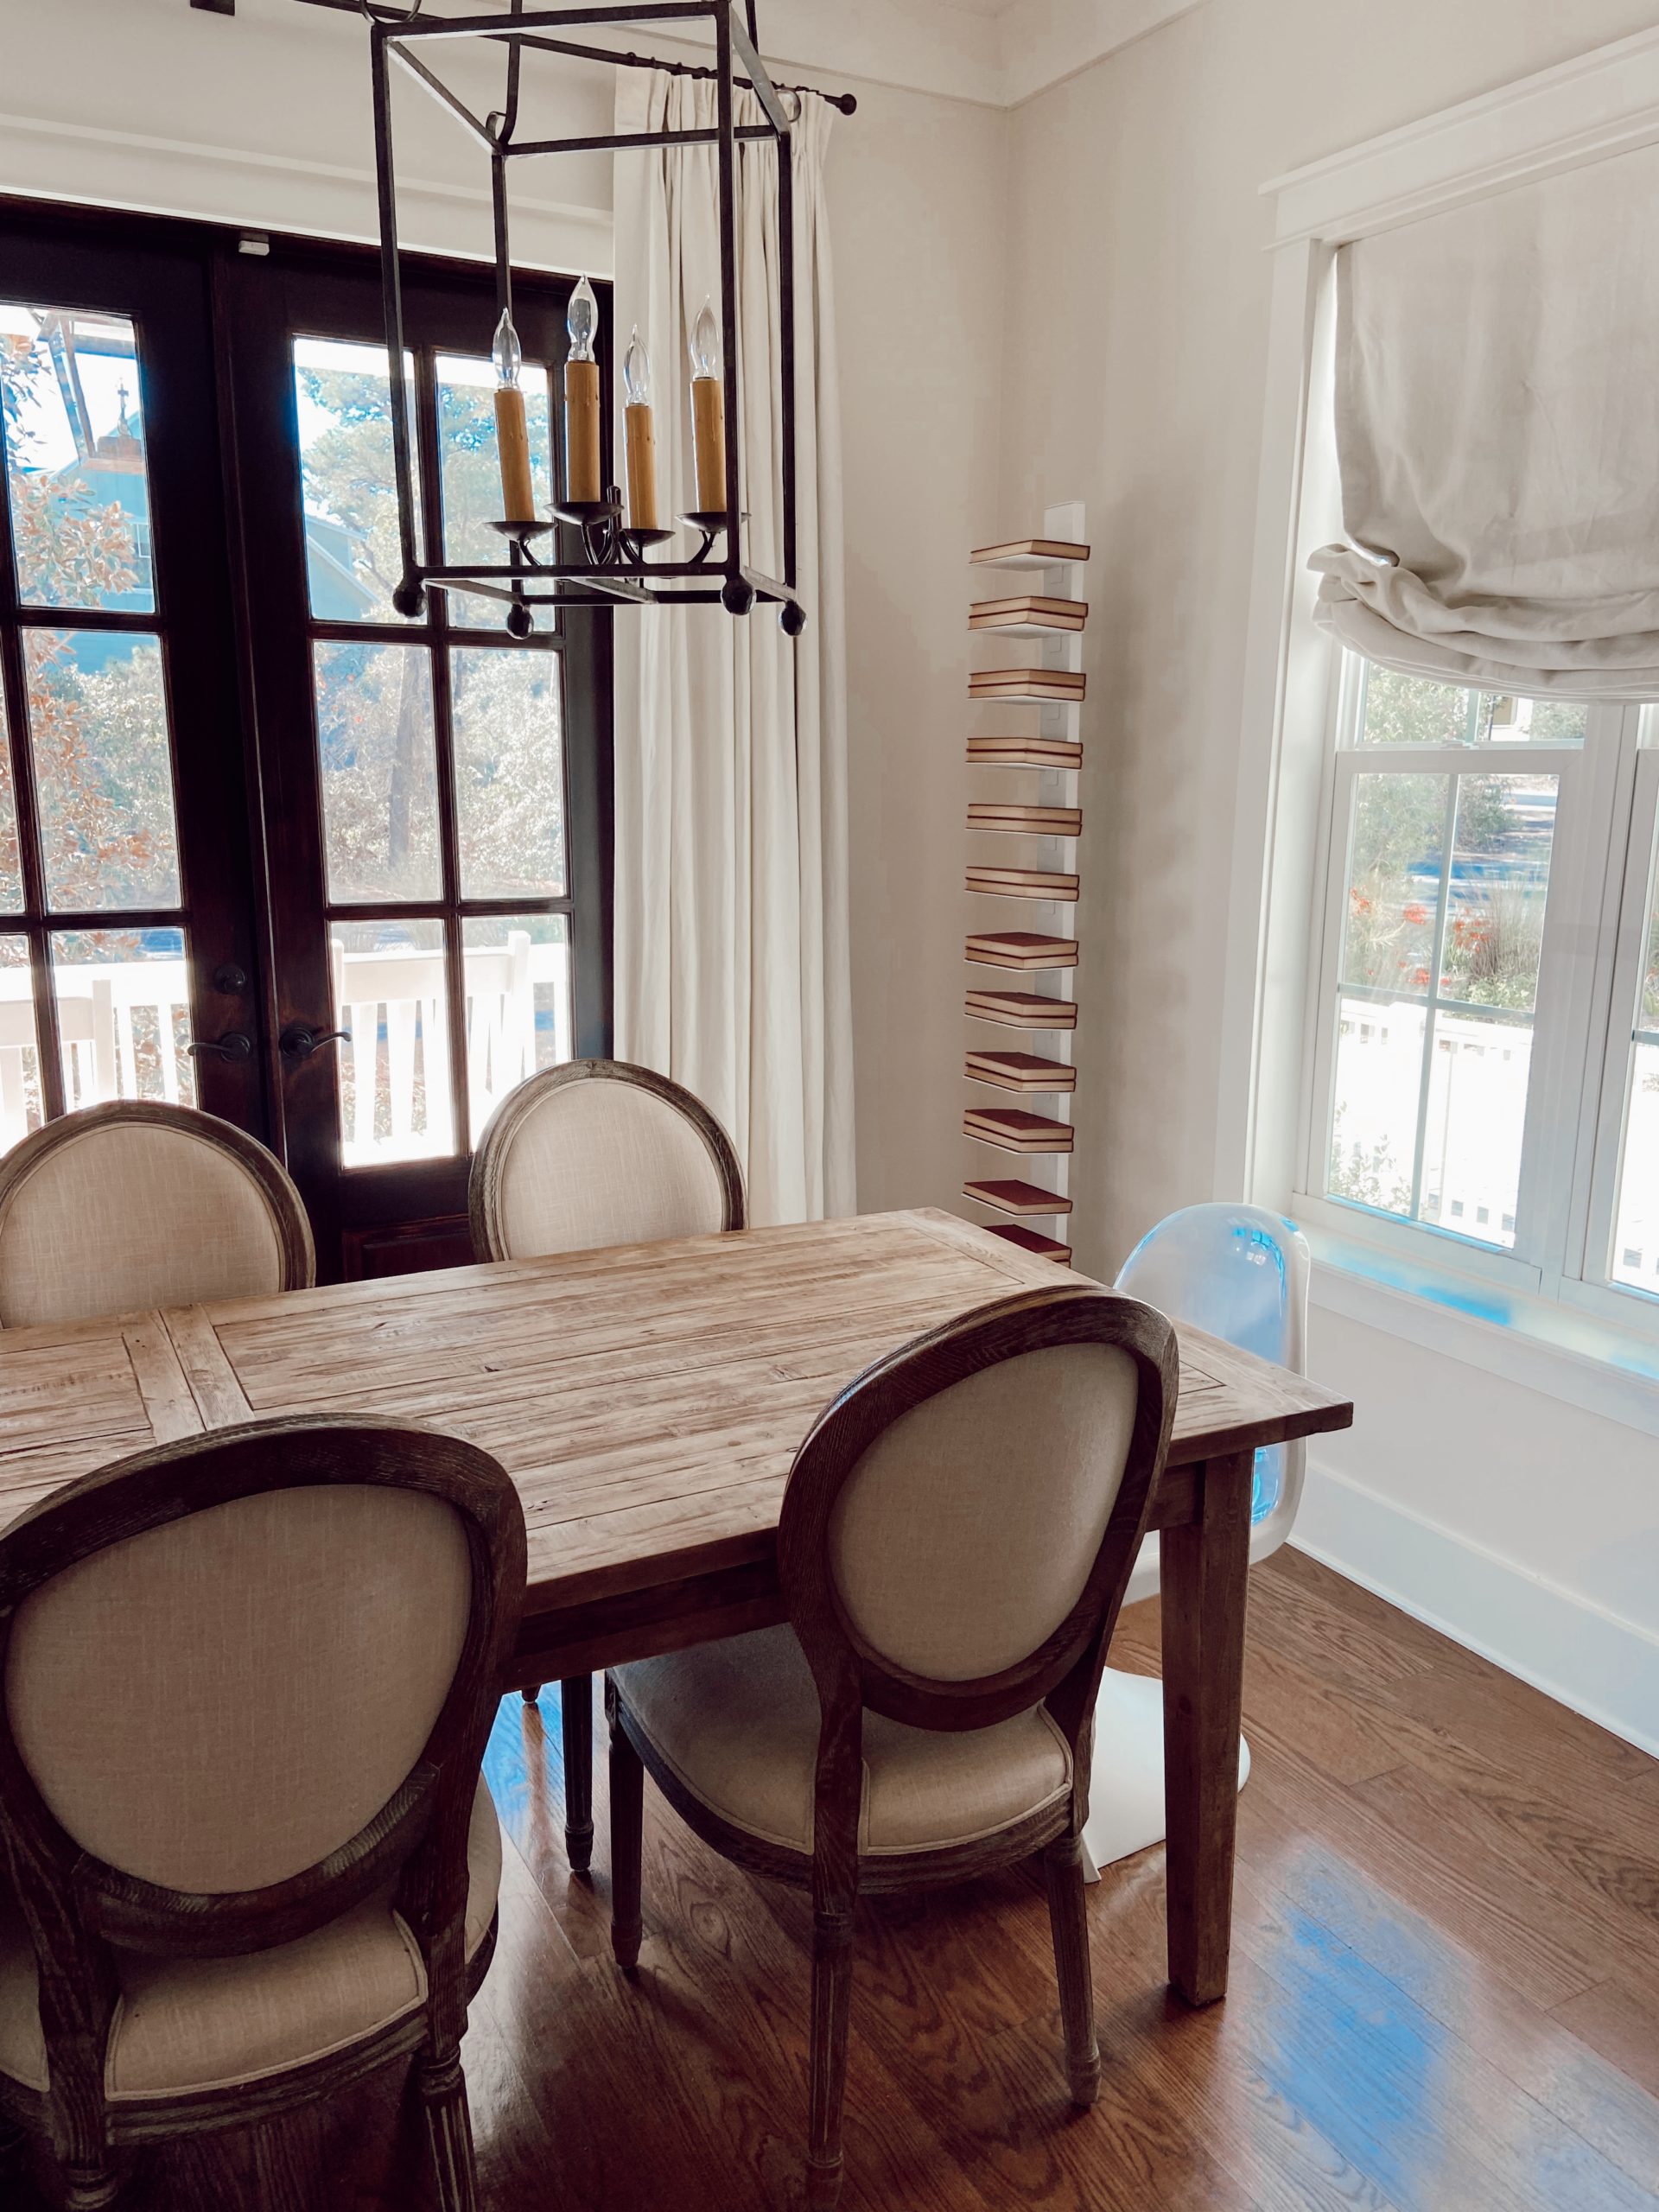
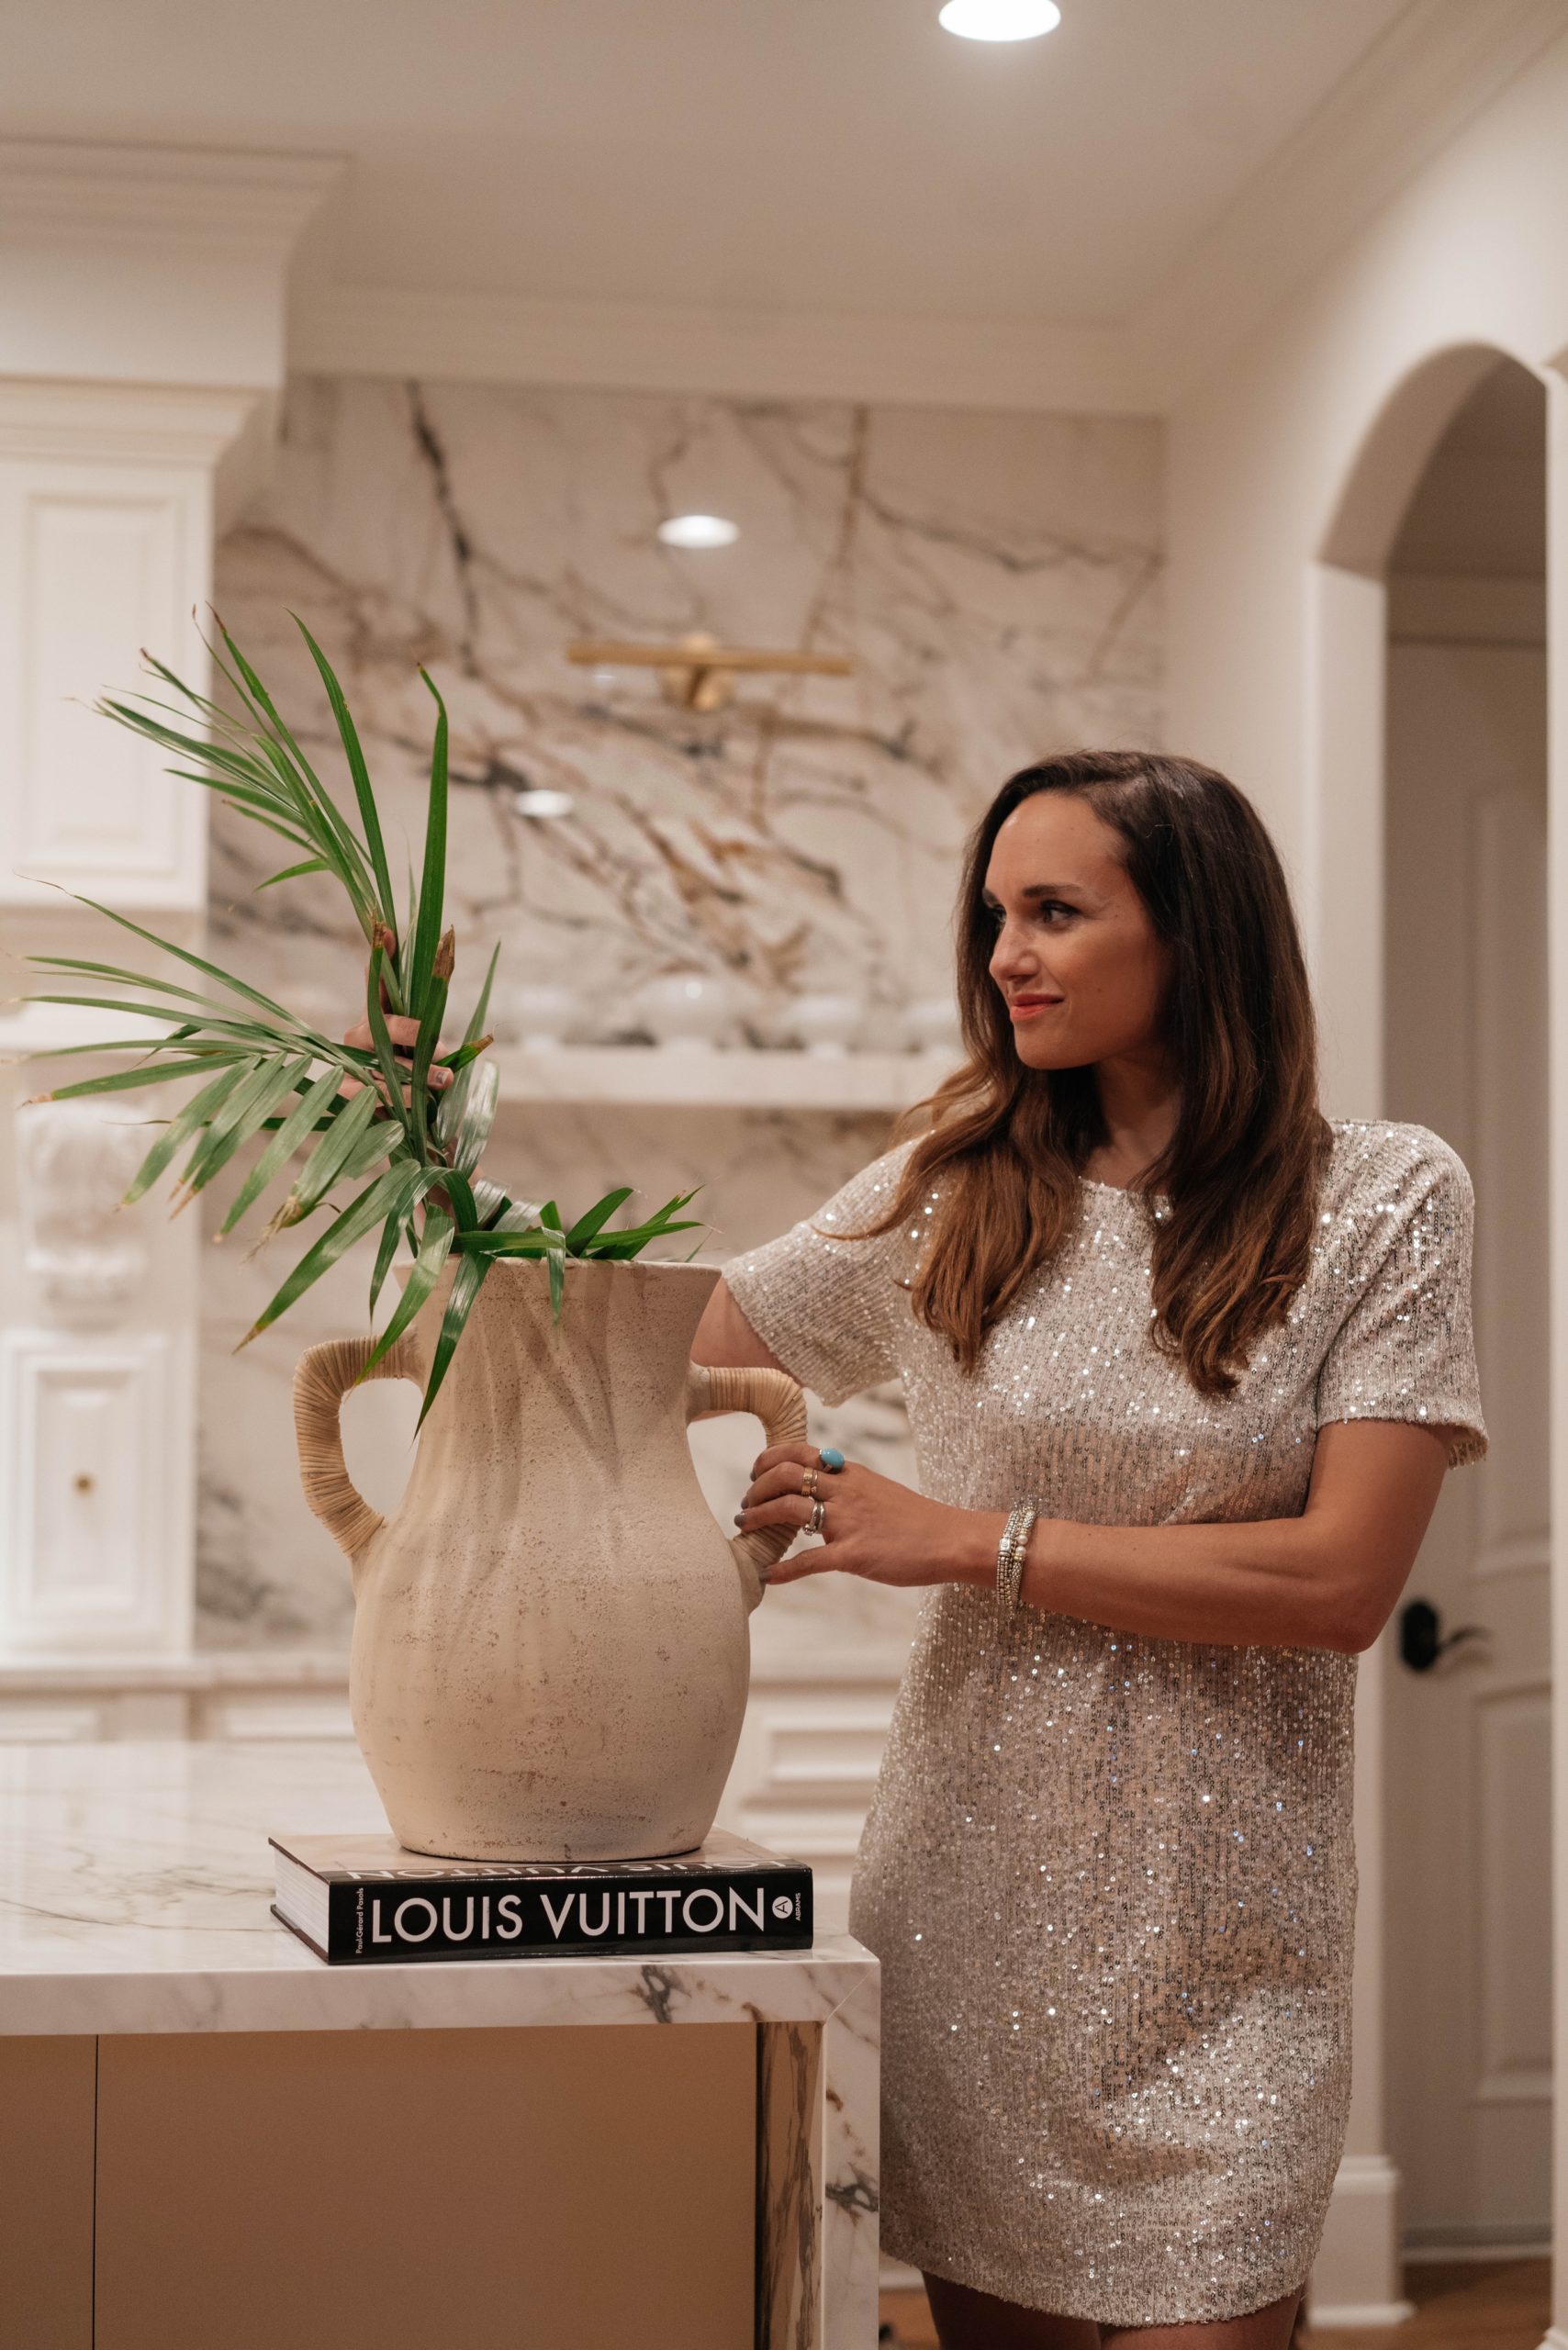
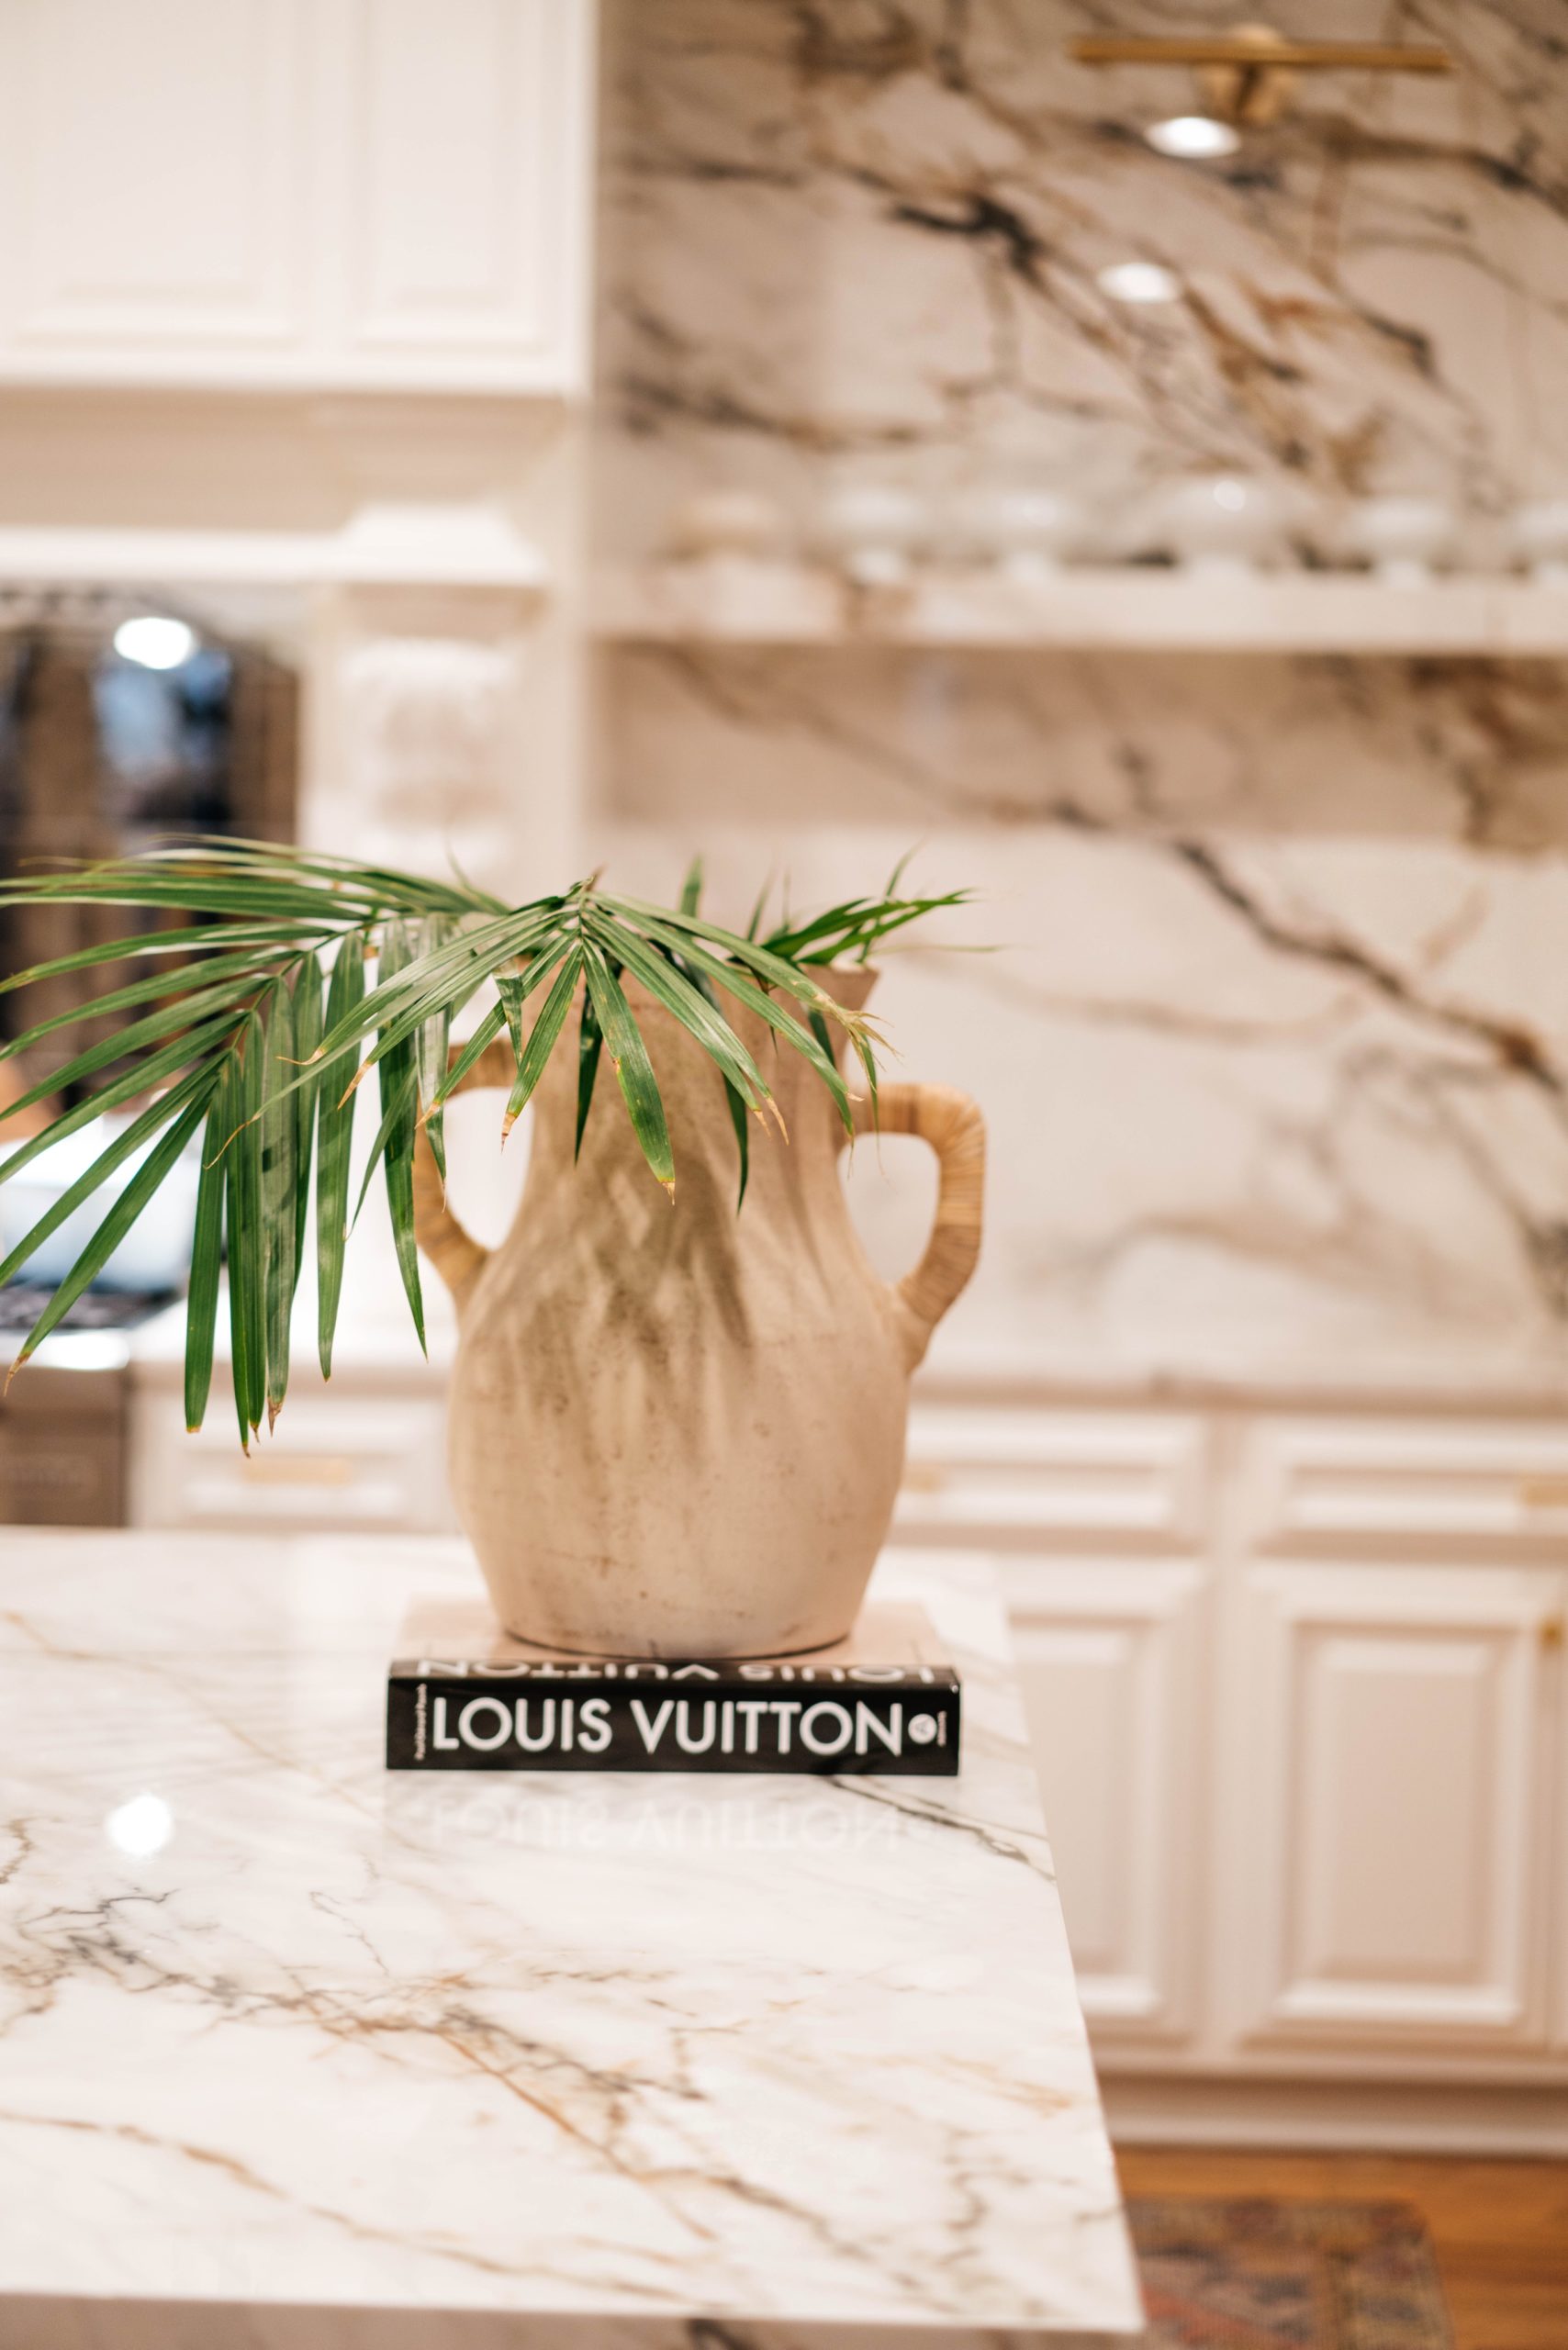
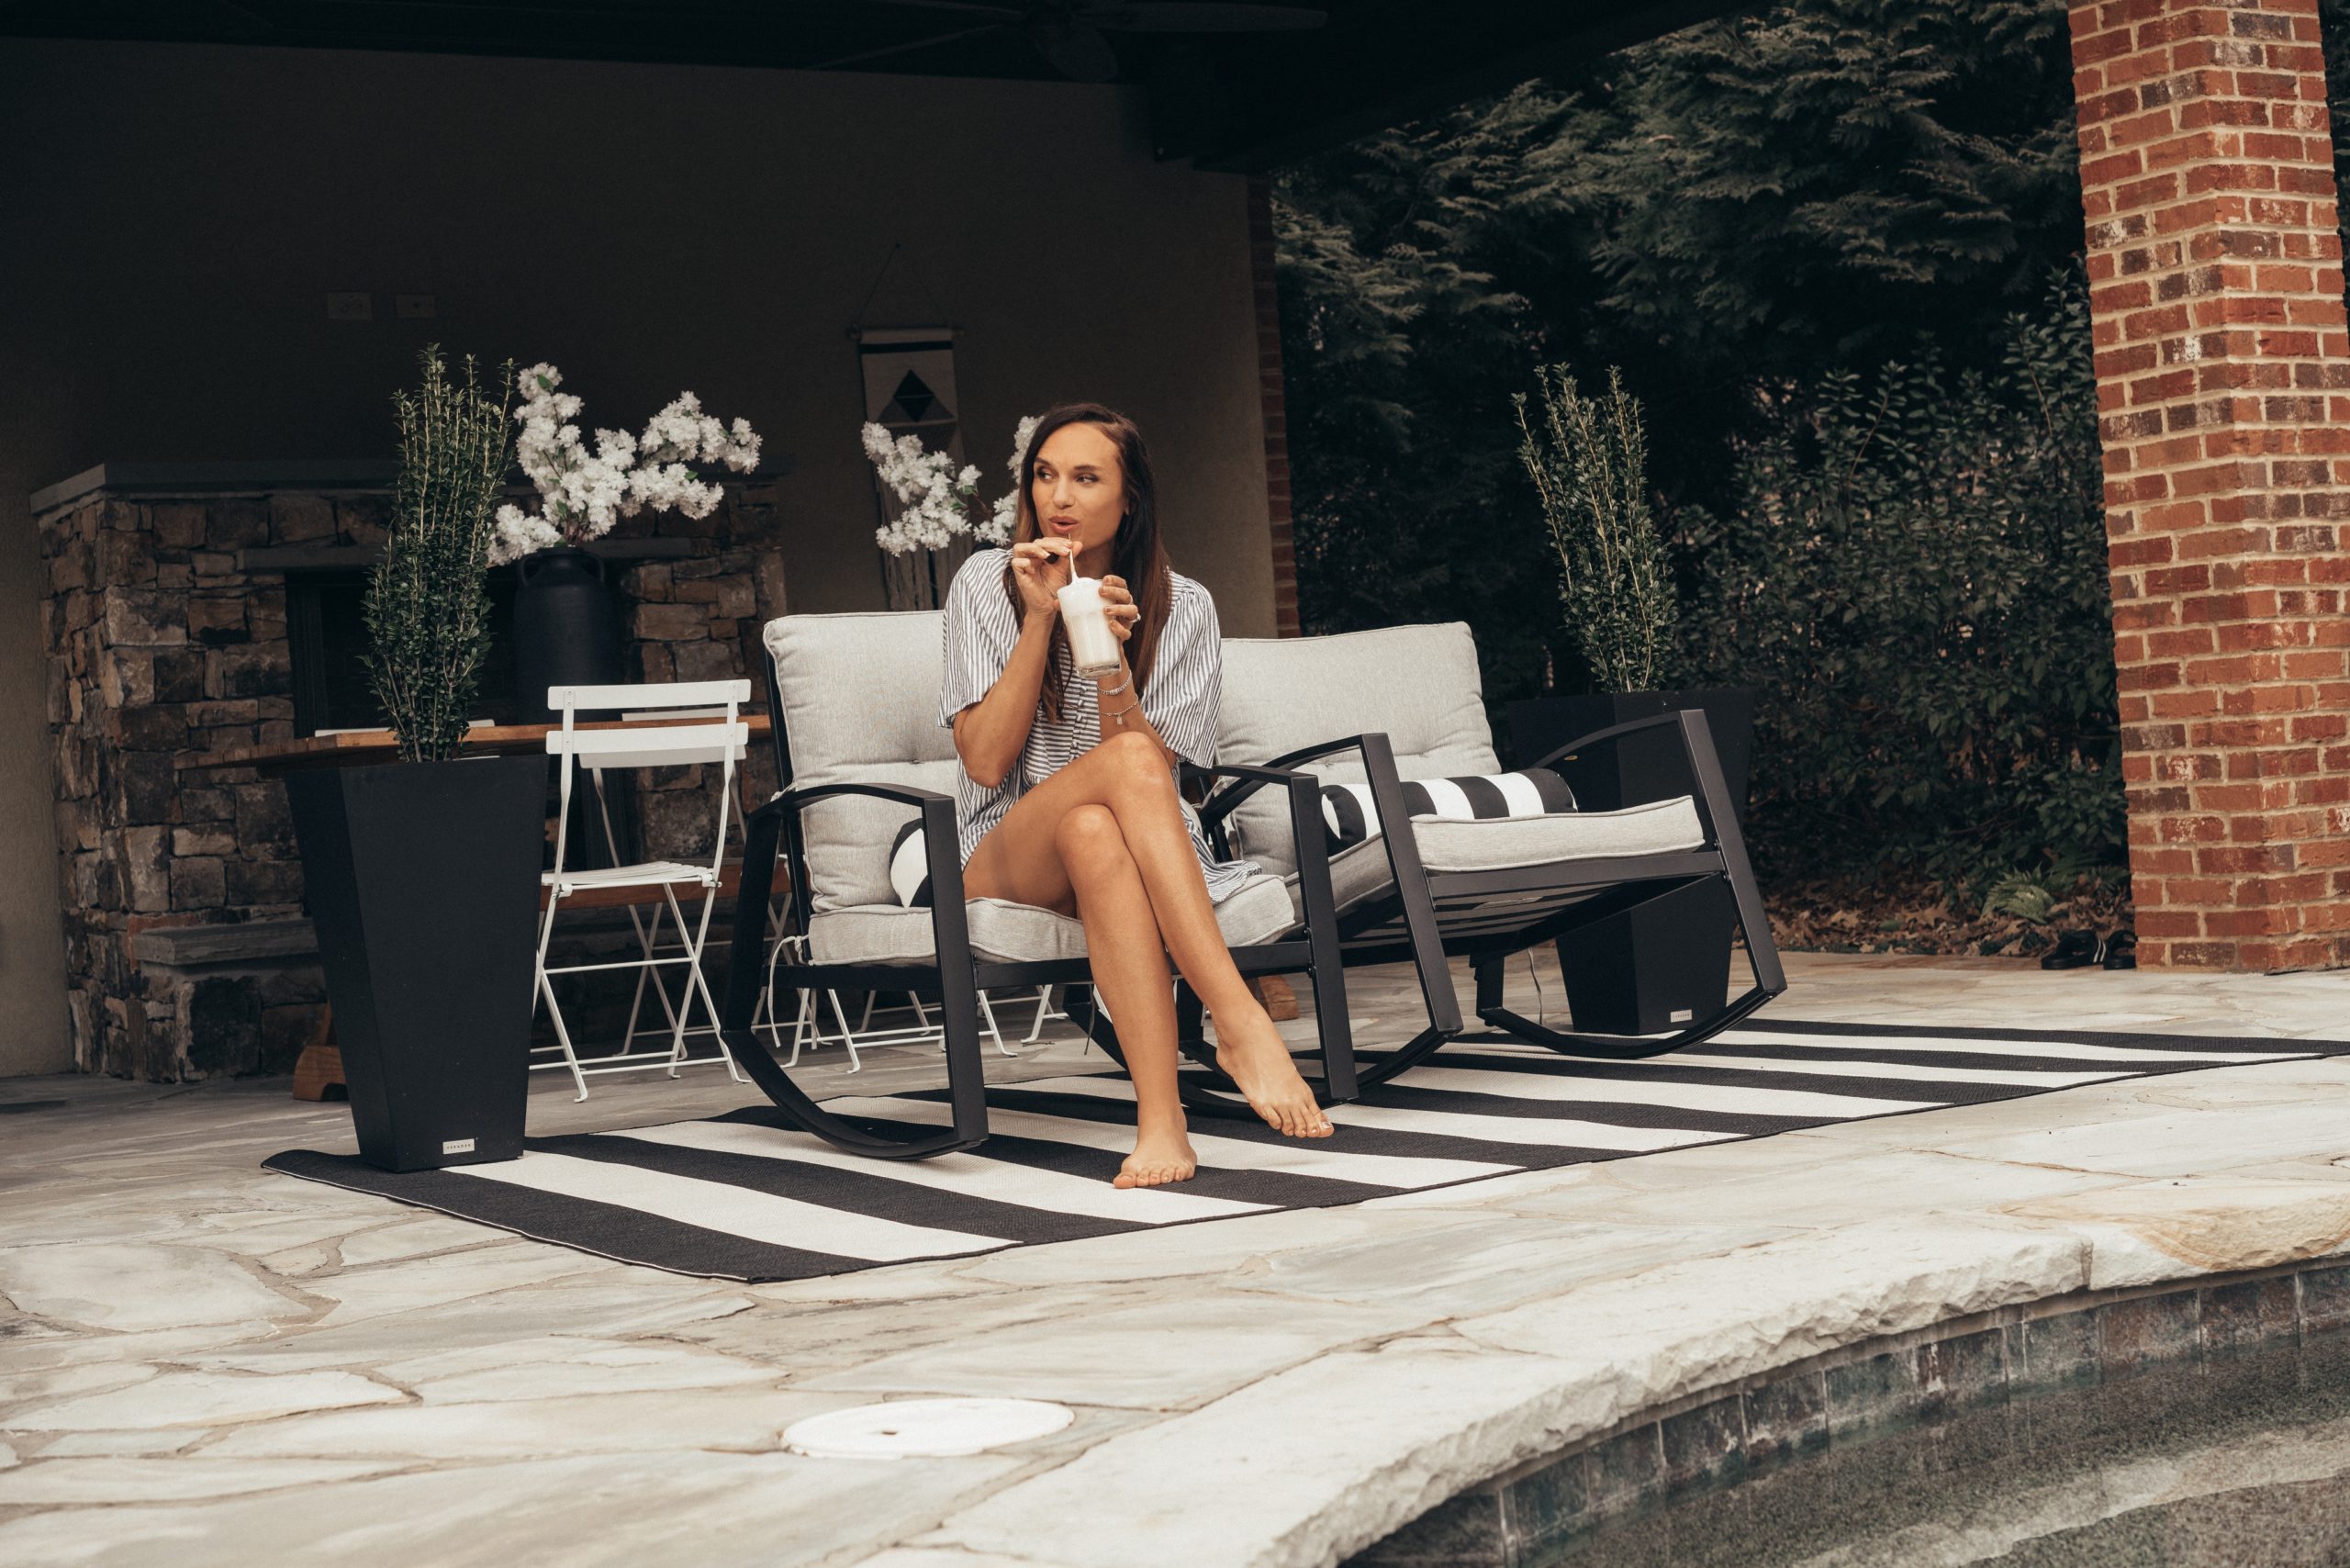
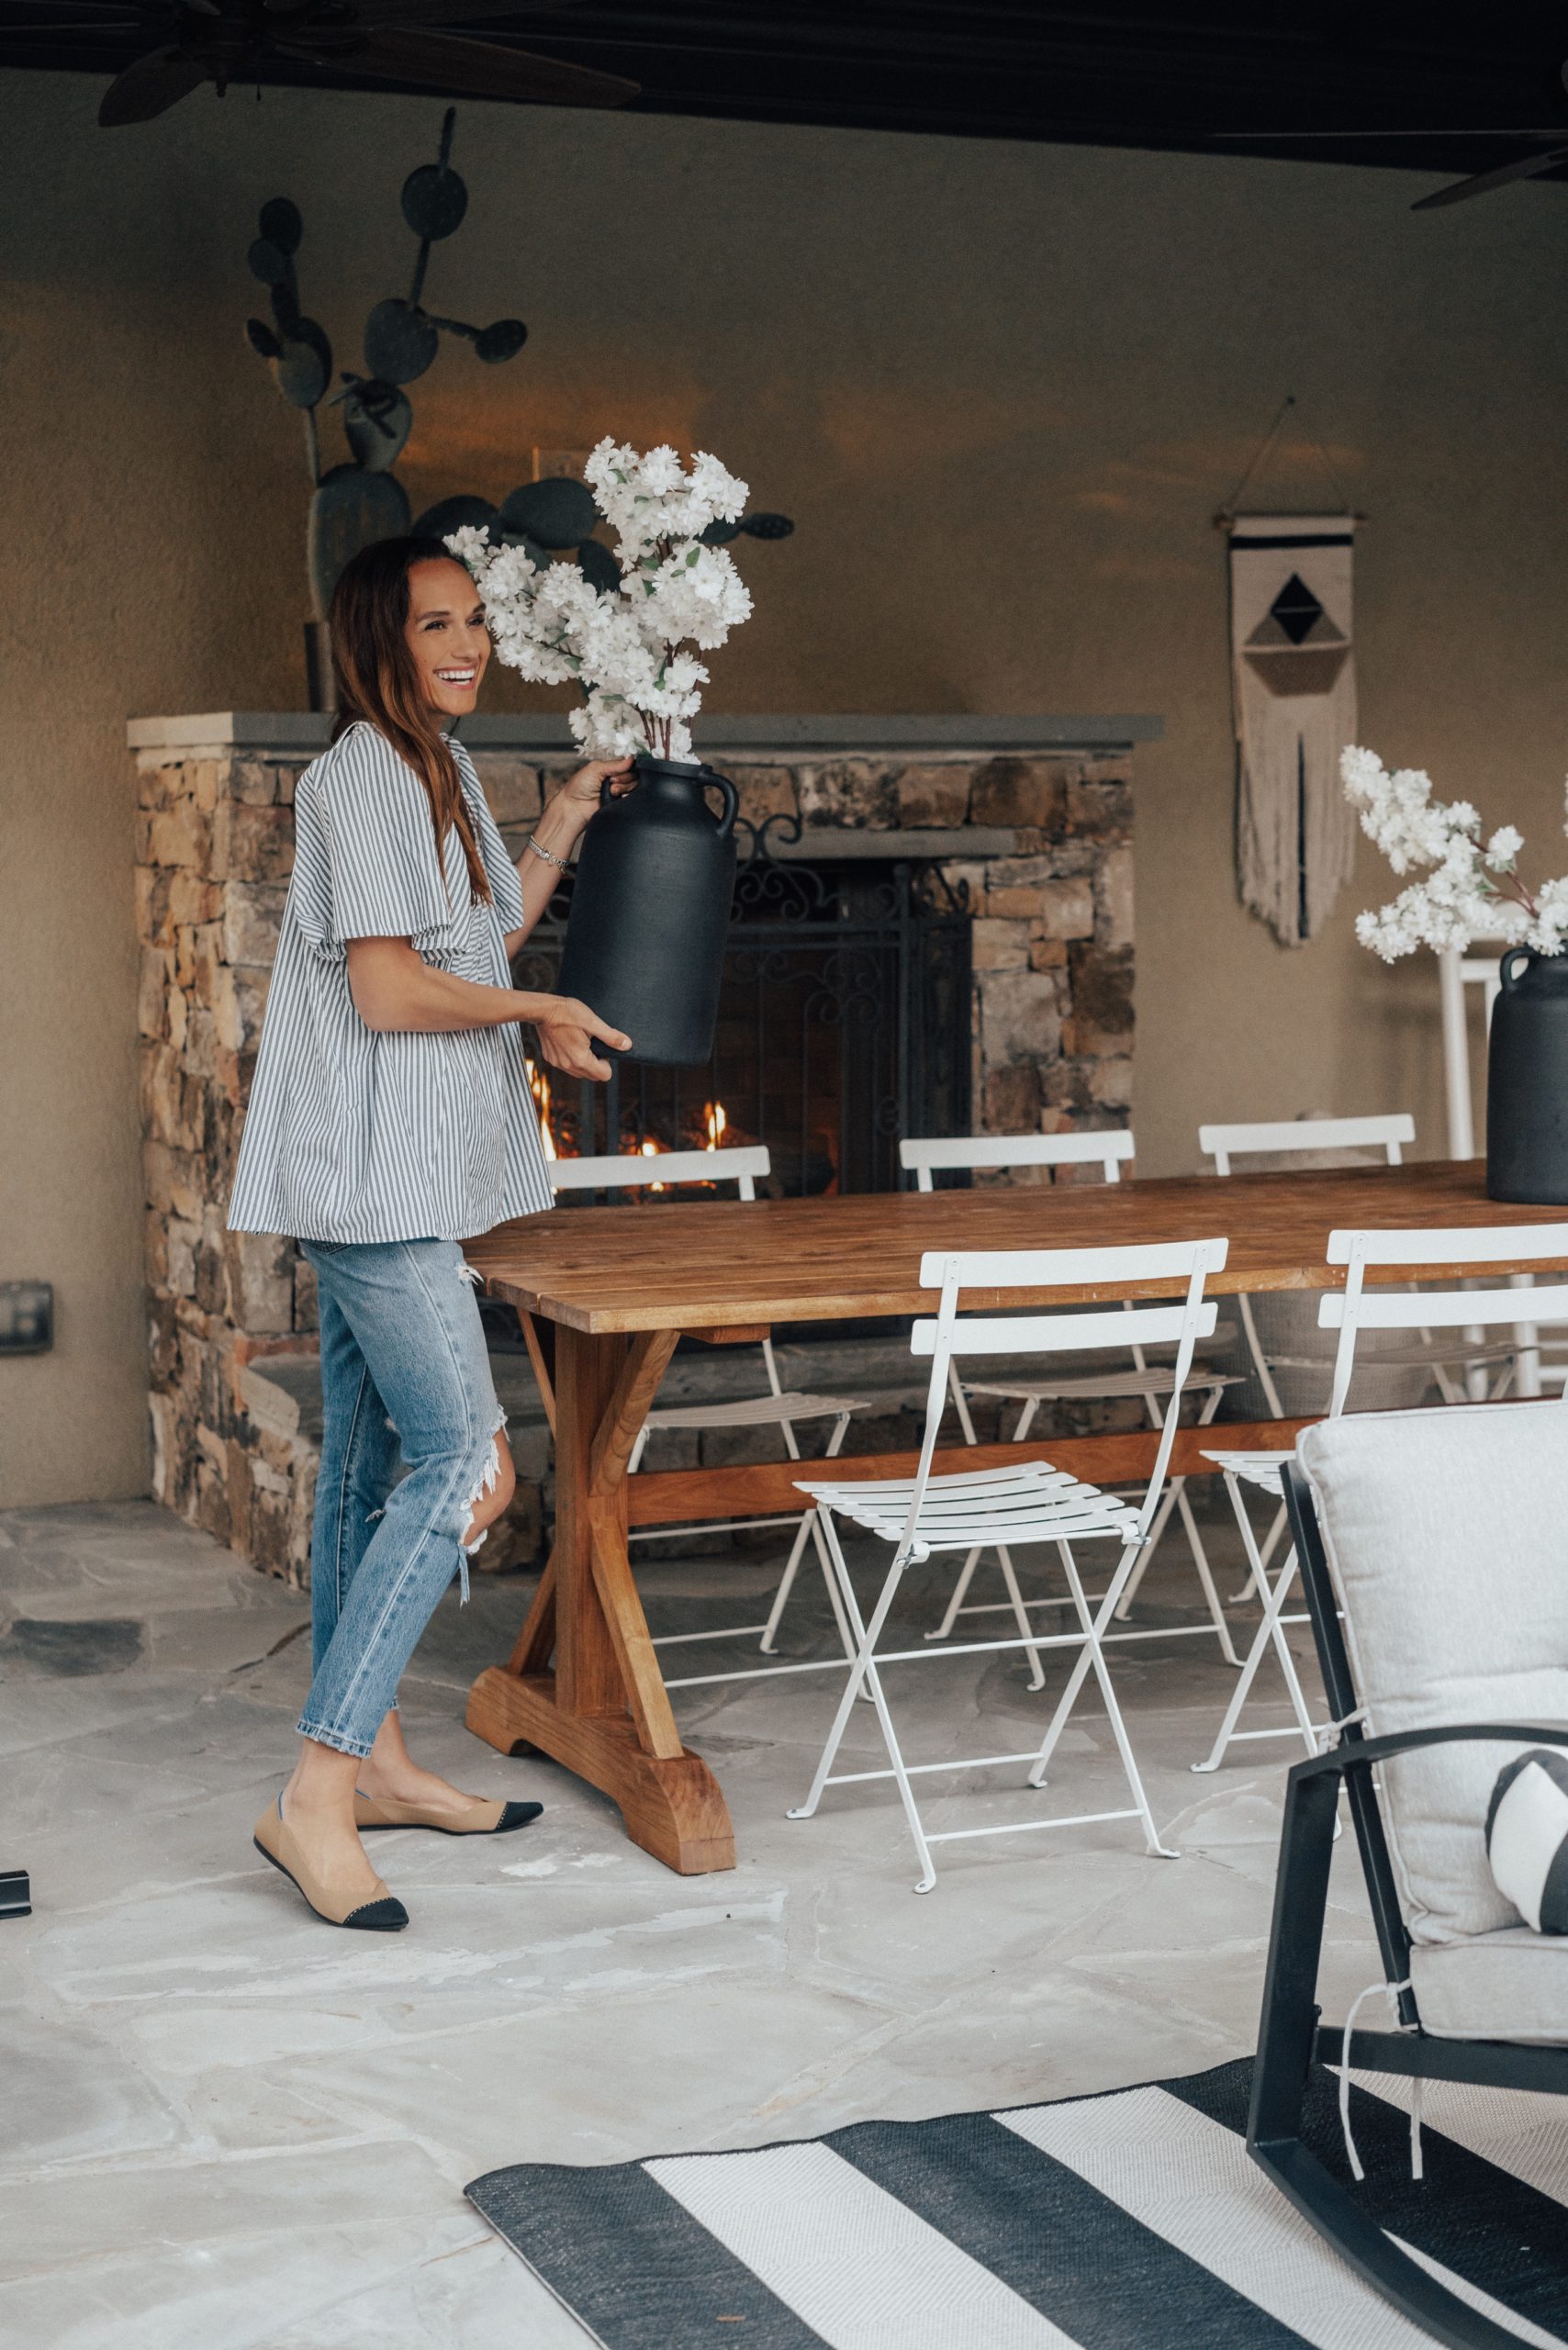
We first moved some old outdoor pieces around. We took our large teak table that seats 8 and moved it into the cabana, in front of our outdoor fire place. While the evening is a bit of a chill, the fire place makes dinning al fresco romantic and comfortable. We also added some new rockers to the pool deck. Do you prefer lounge chairs or rockers? While I love getting vitamin D in a lounge chair, it’s still a bit too early for that. That’s why I love these rockers, they are comfortable and modern. The grey cushions go well with our flagstone deck. We placed the rockers on a new striped outdoor rug giving the chairs a nice smooth rock. The rug will make a great place for the kids to lay down a beach towel as well, come summer. Add planters and colorful spring plants around the space to add color and texture. Walmart has an assortment of faux flowers. Add faux flowers to oversized vases and if the temperature drops a few nights, no worries. The faux flowers always look fresh!

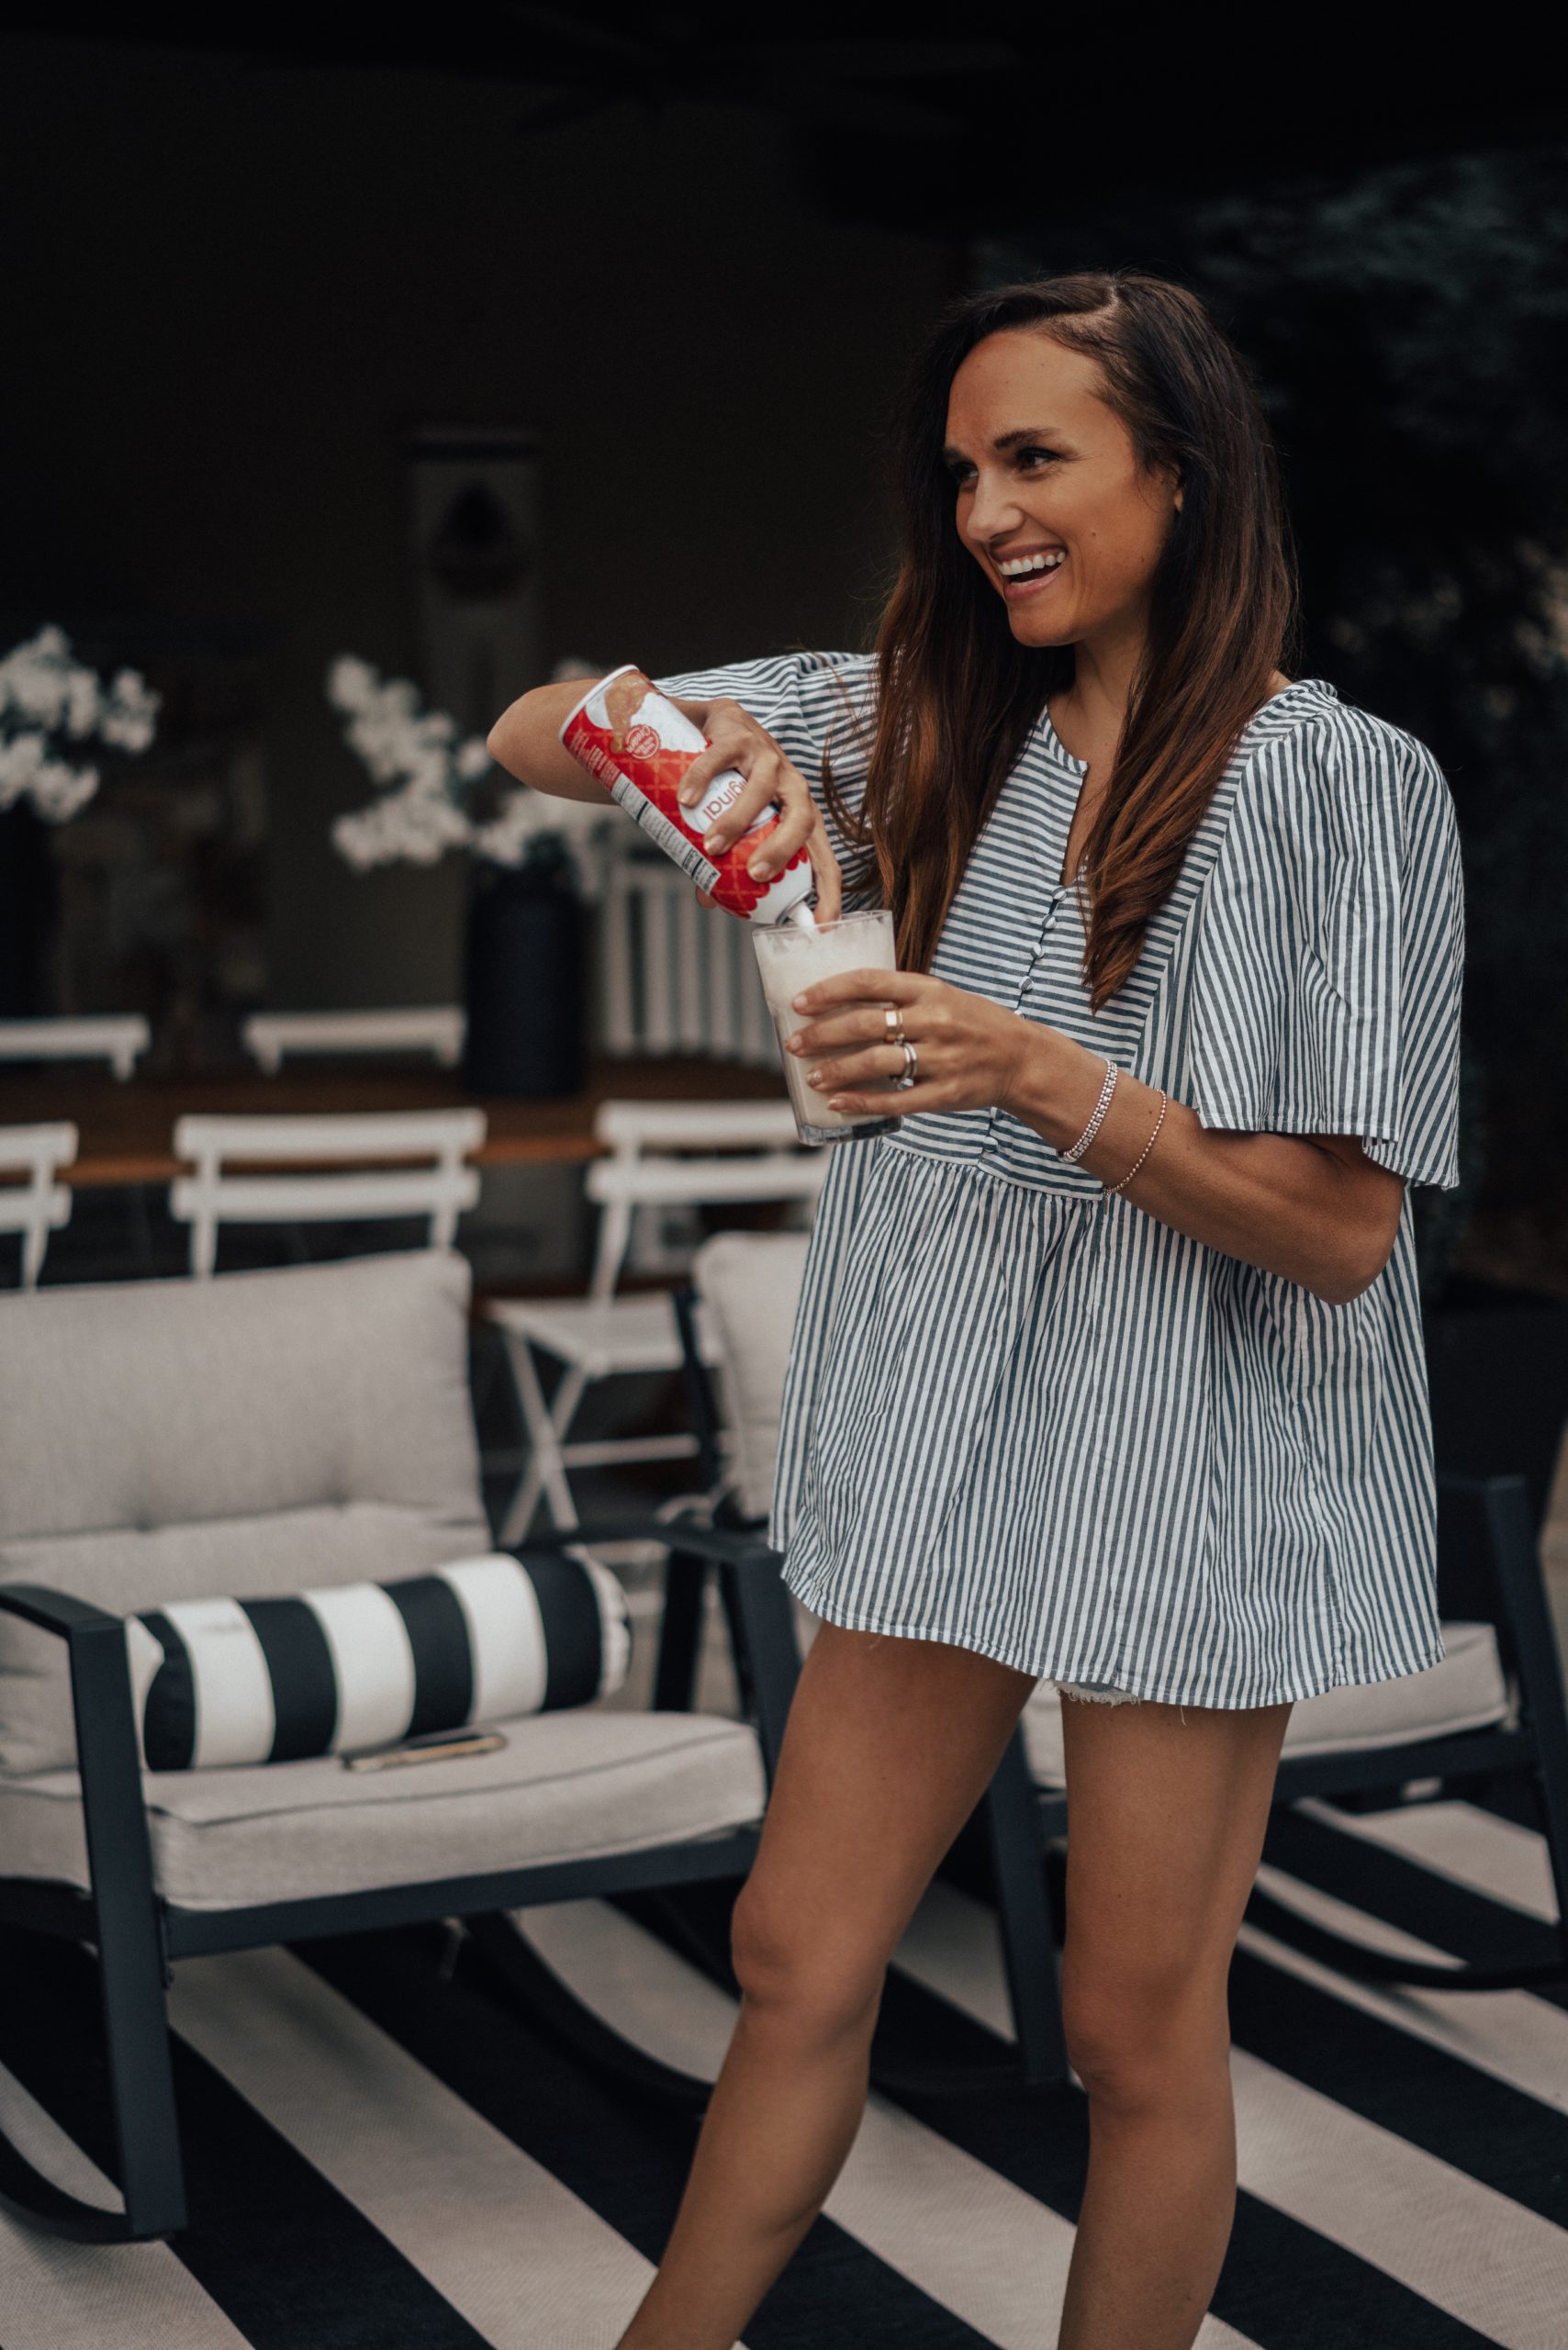
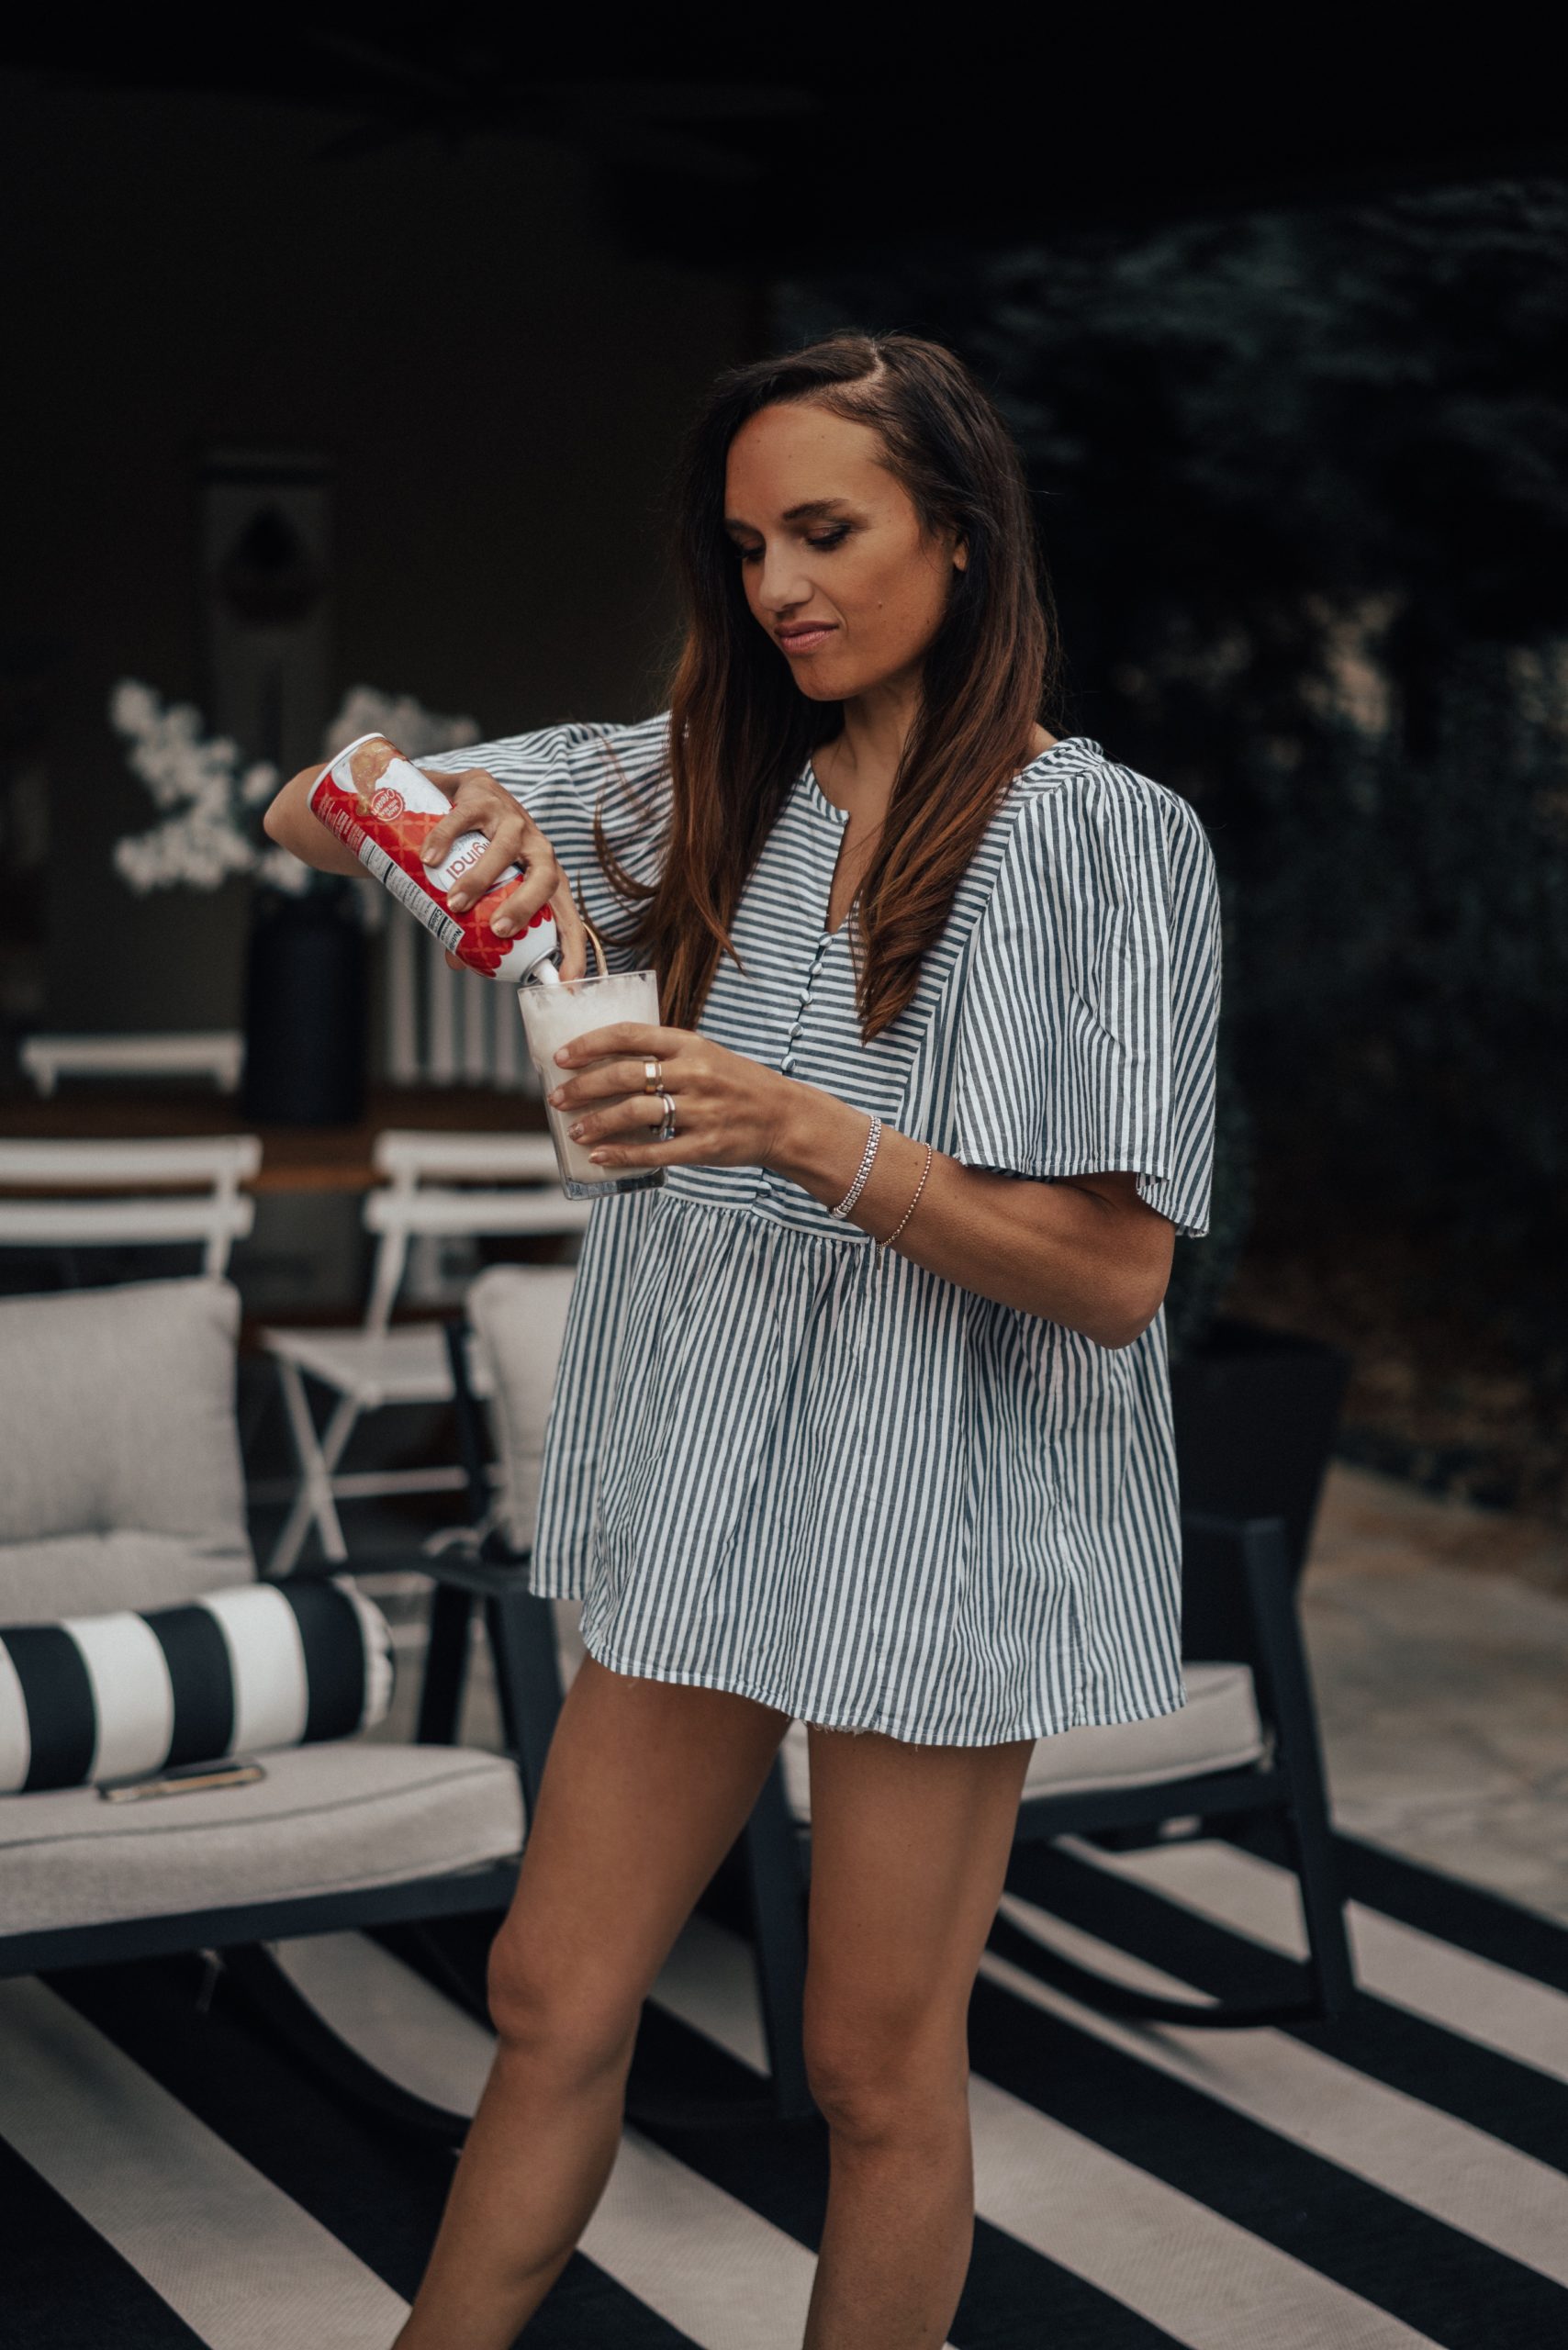
While enjoying the new rockers, we decided to make homemade malts. We rocked on our chairs and looked out at the pool while listening to the waterfall. I love sitting outside, sipping my malt and reaping the benefits of sunlight and nature. It’s time to get outdoors ready with Walmart’s Patio Furniture selections. They have great pieces designed to fit a variety of styles and outdoor spaces. Show me your plans.
Use this malt recipe for your first spring patio party.
Vanilla Malts
Makes 7 – 1 cup servings
1 ½ cups whole milk
1 1/8 cups granulated sugar
3 cups heavy whipping cream
1 ½ tablespoons pure vanilla extract
¼ cup malt powder (add more to taste)
In a medium mixing bowl, use a hand mixer on low speed to combine the milk and granulated sugar until the sugar is dissolved. Stir in the heavy cream and vanilla.
Pour out the mixture into a freezer bowl. We use this:
or
Kitchen Aid 2 quart Ice cream maker mixer attachment
I love how this area came together, from the planters, stripe pillows, outdoor rug, string lights and new rockers!


Thank you Walmart for sponsoring this post!