Tag:

Home

I’m almost afraid of installing blackout shades. There’s a probability I may never wake up!! LOL.

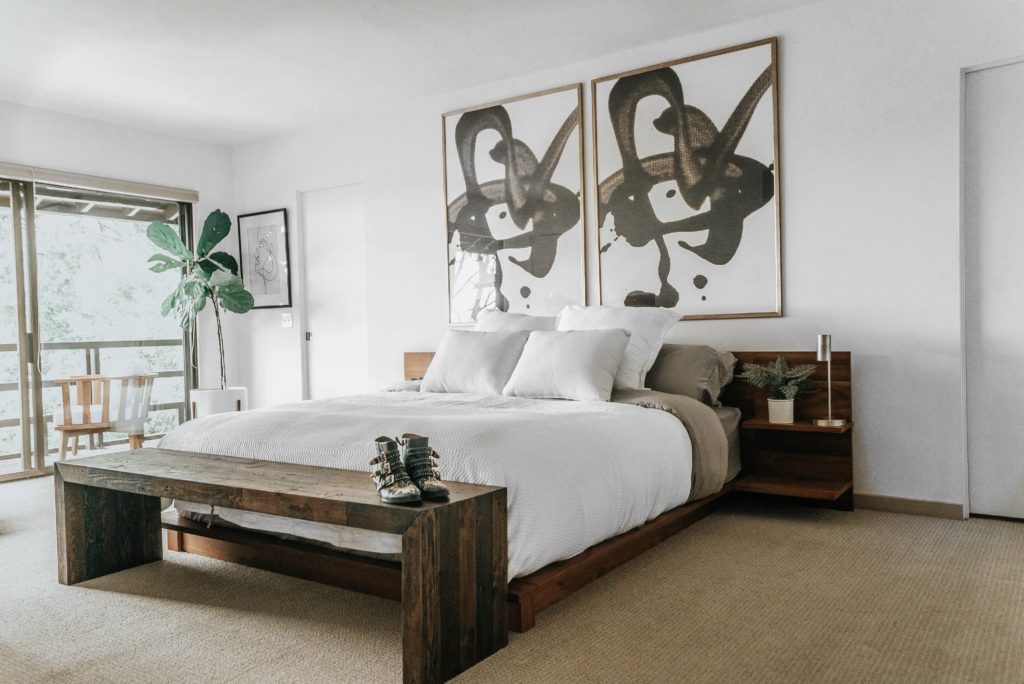
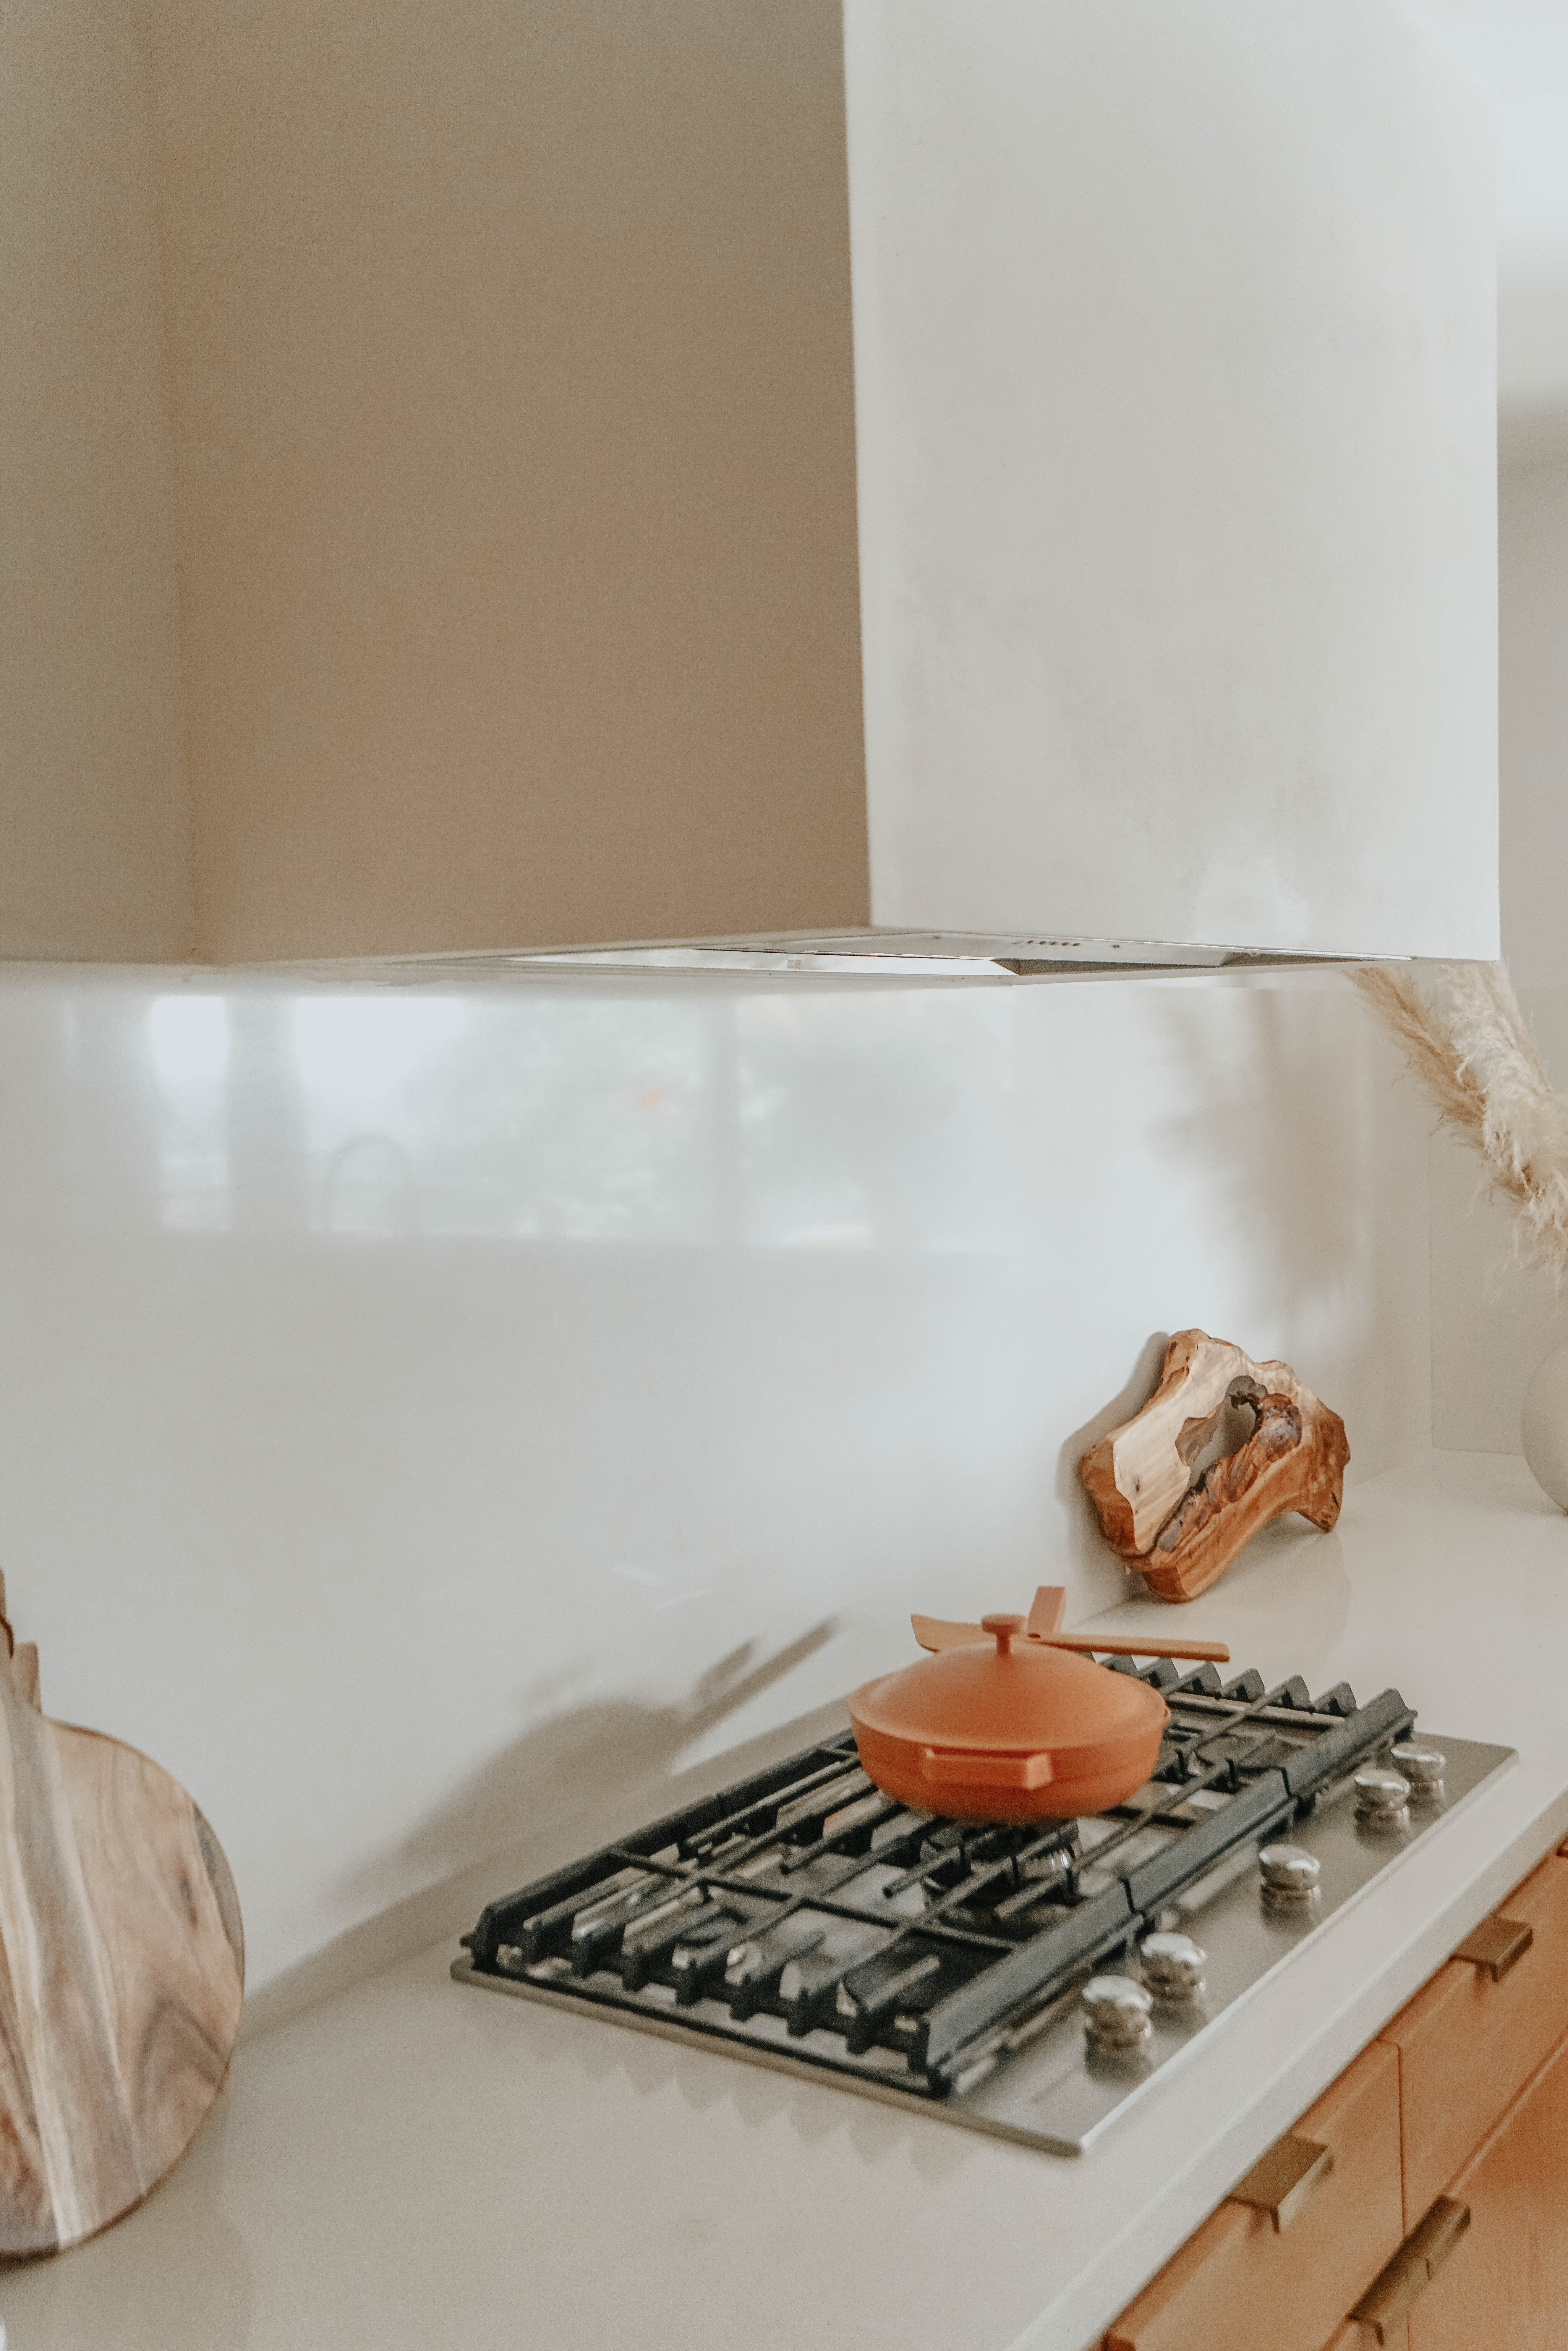
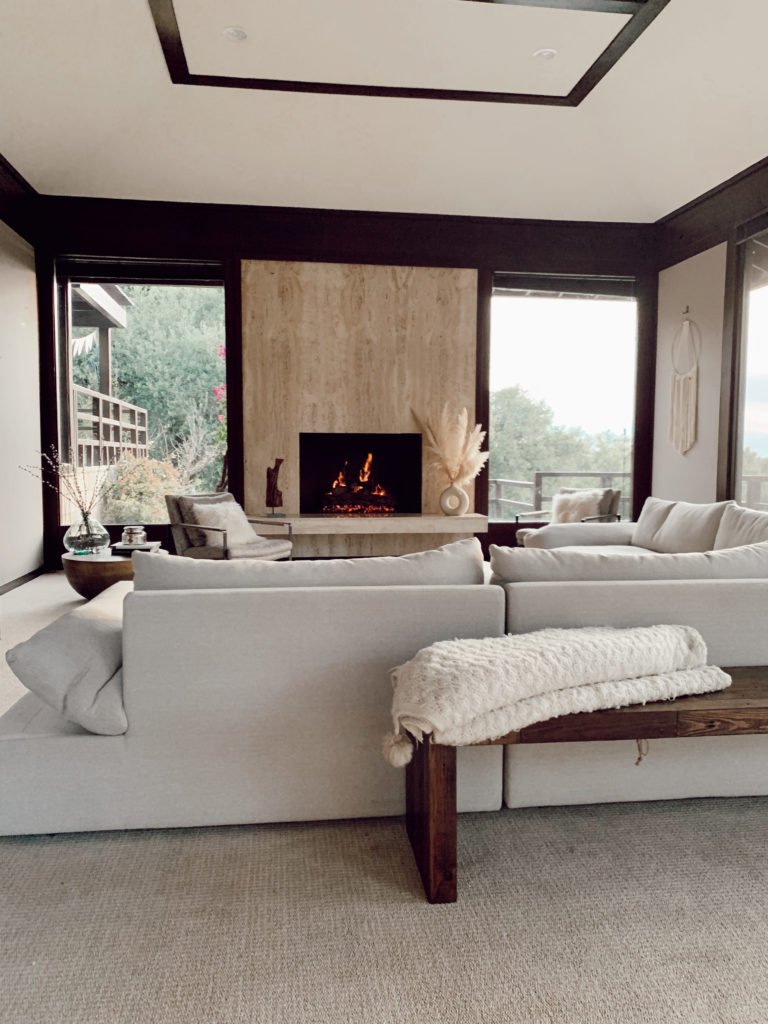
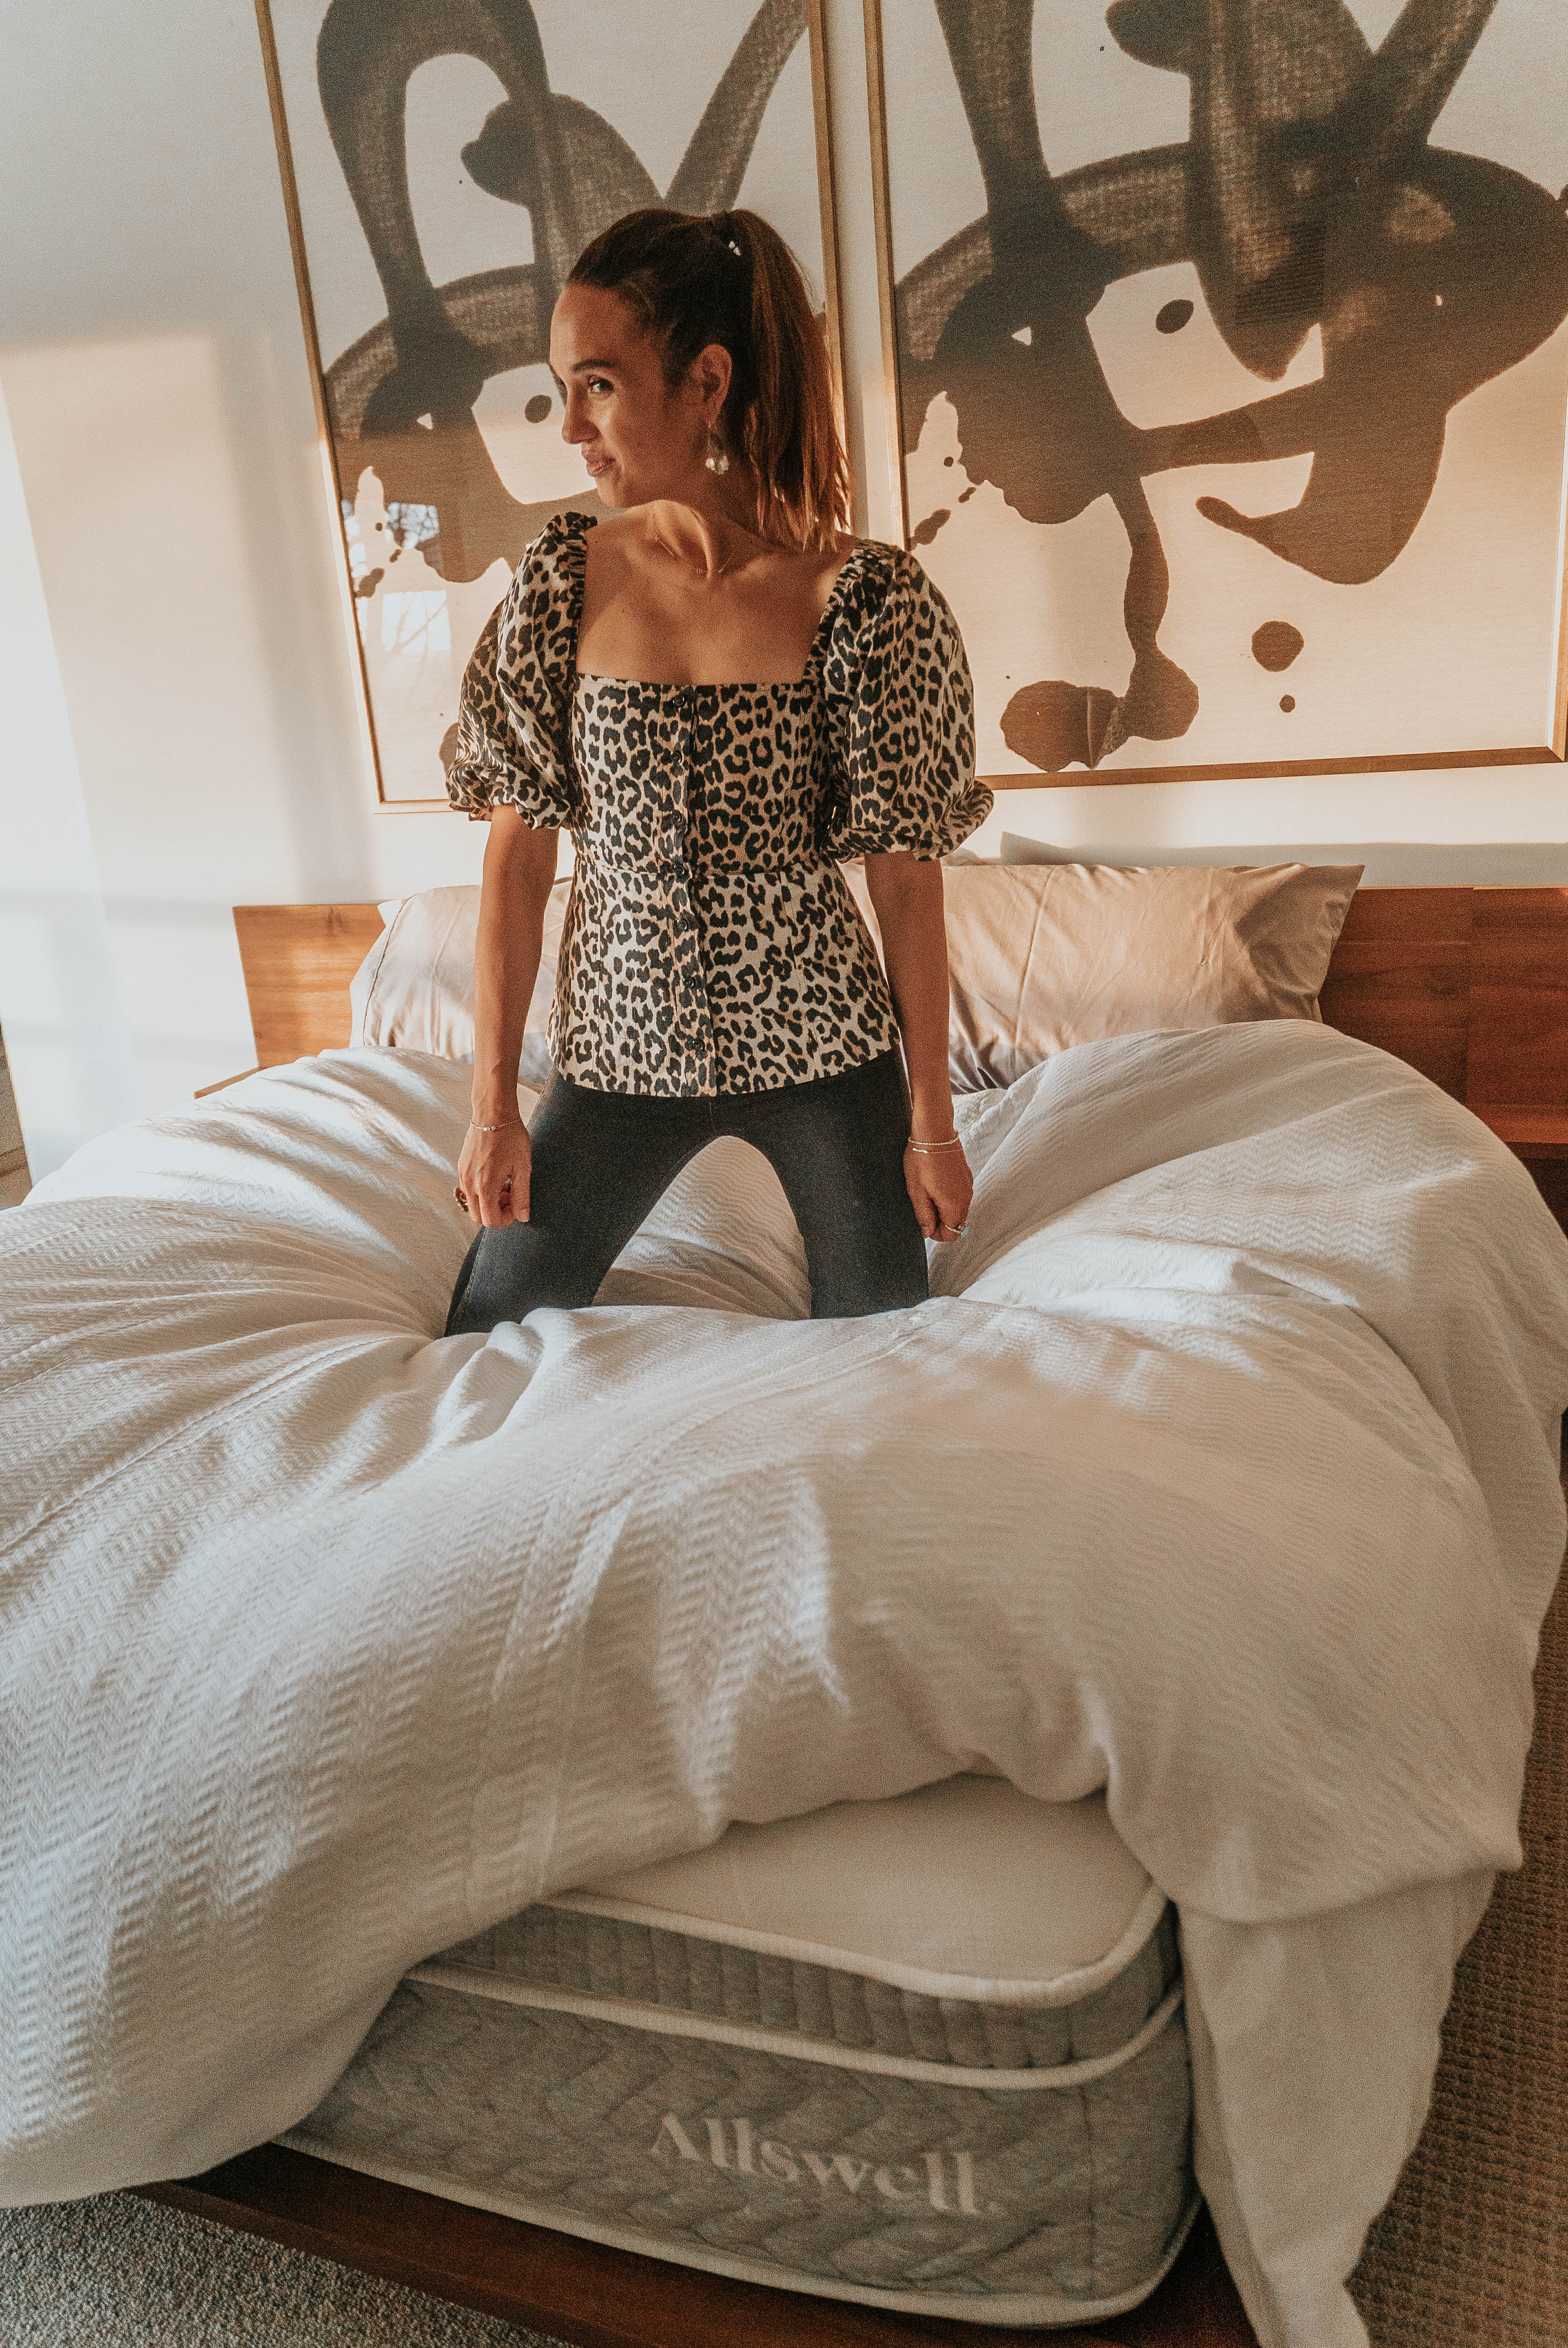
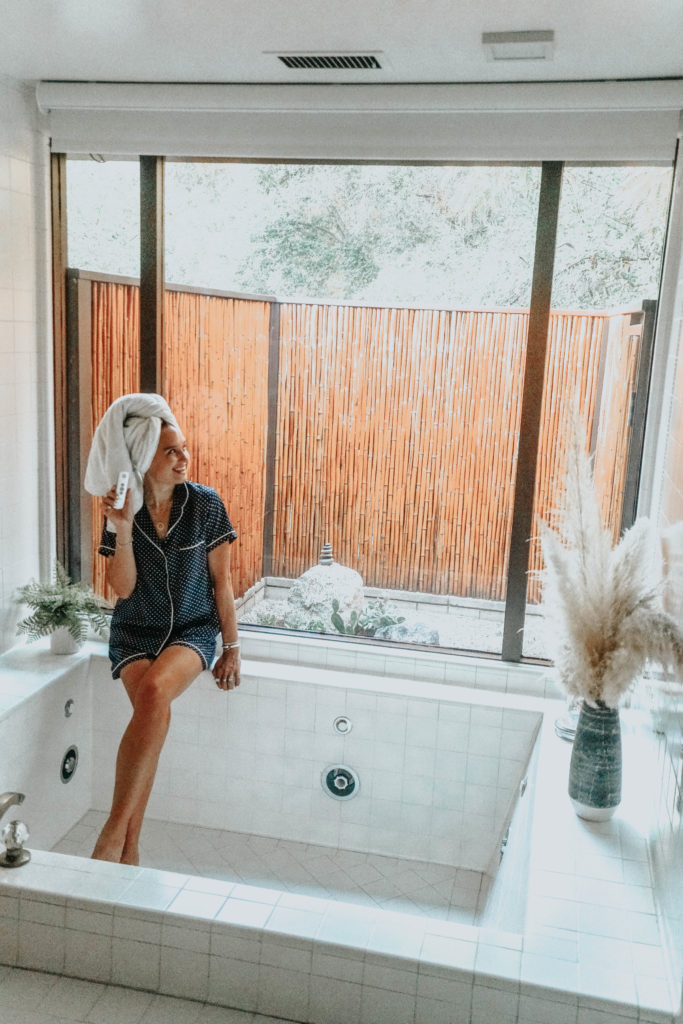
Window treatments are a tough design element to get right.  Especially when your design aesthetic is minimal and modern.  The key to minimal design is to reduce the busy appearance of lines as much as possible.  Therefore, I do not recommend mini-blinds, vertical blinds or roman shades.  To modernize our windows and maintain the modern look of our bedroom and master bathroom, we chose black-out shades.  However, these are not the old roller shades you grew up with.  We chose remote controlled motorized shades.

Benefits of motorized shades

1)  Access hard to reach windows.
2)  No ugly or dangerous hanging cords.
3)  Preset shade lowering settings enable all your shades to perfectly align throughout a room for a seamless look inside and outside.
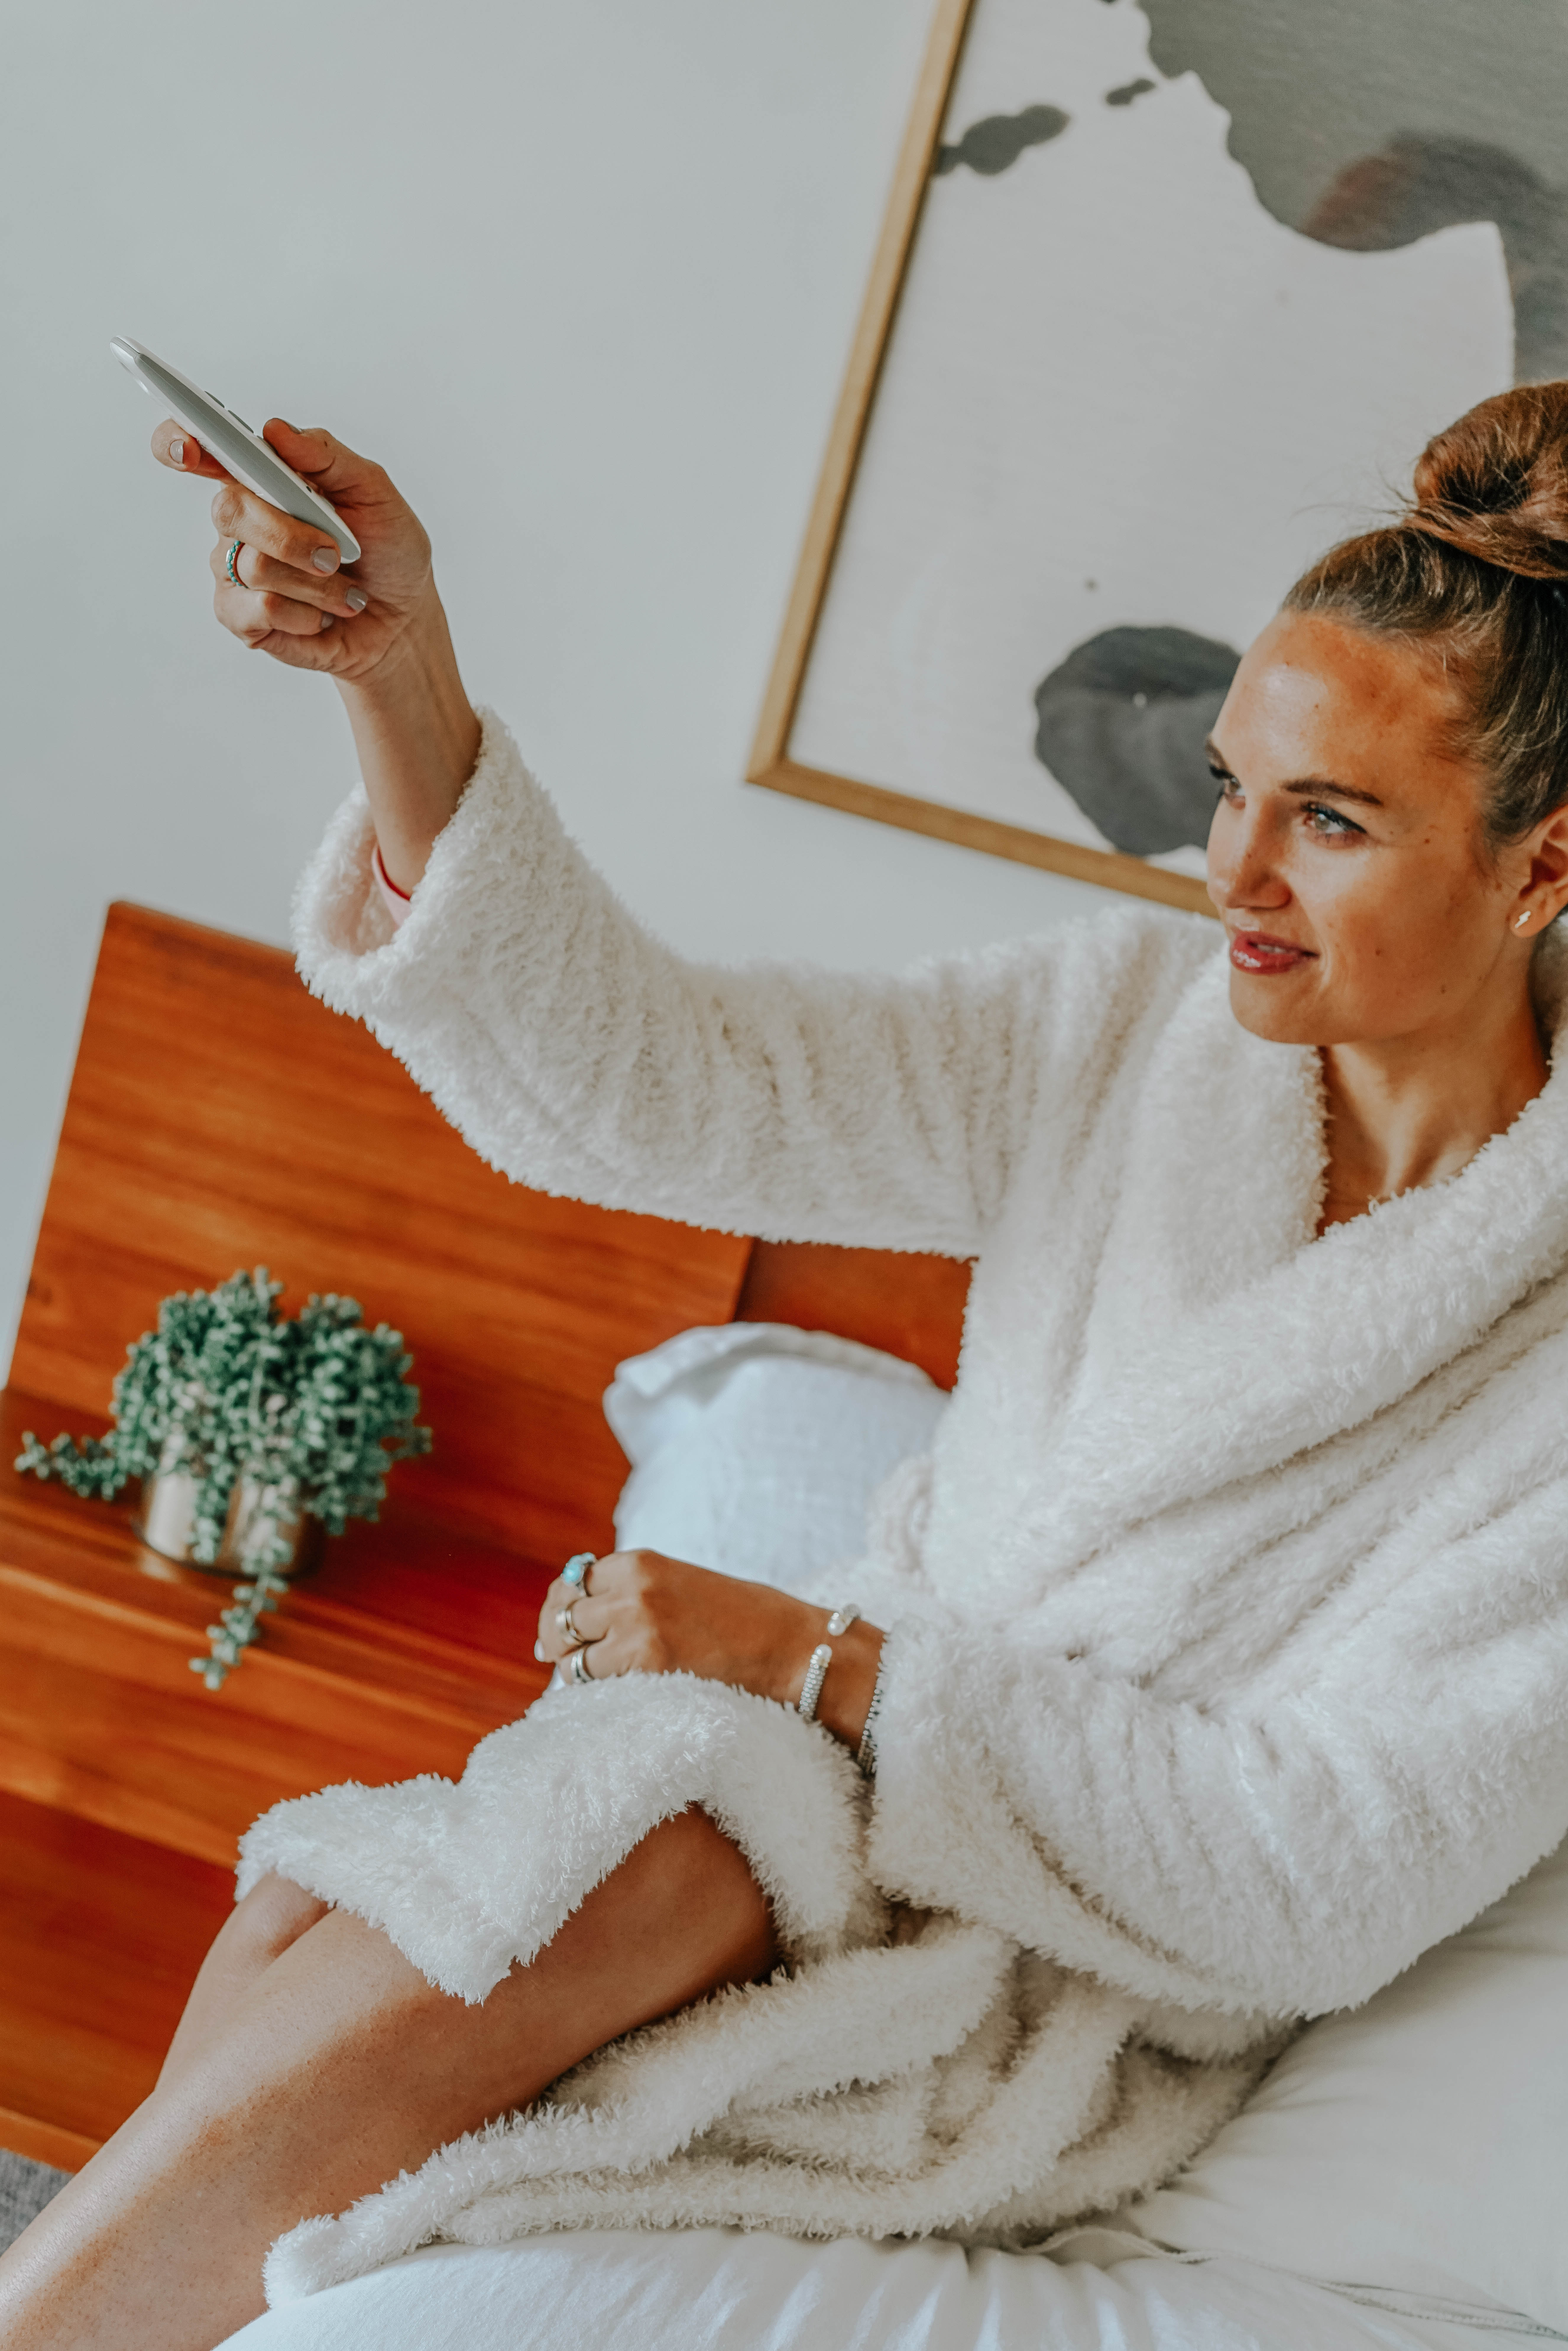
4)  When you wake up in the morning all just push a button for your favorite shade setting.  Great way to tuck yourself in at night or rise to the sunrise.
5)  The motor is quiet and comes with a 5 year warranty.
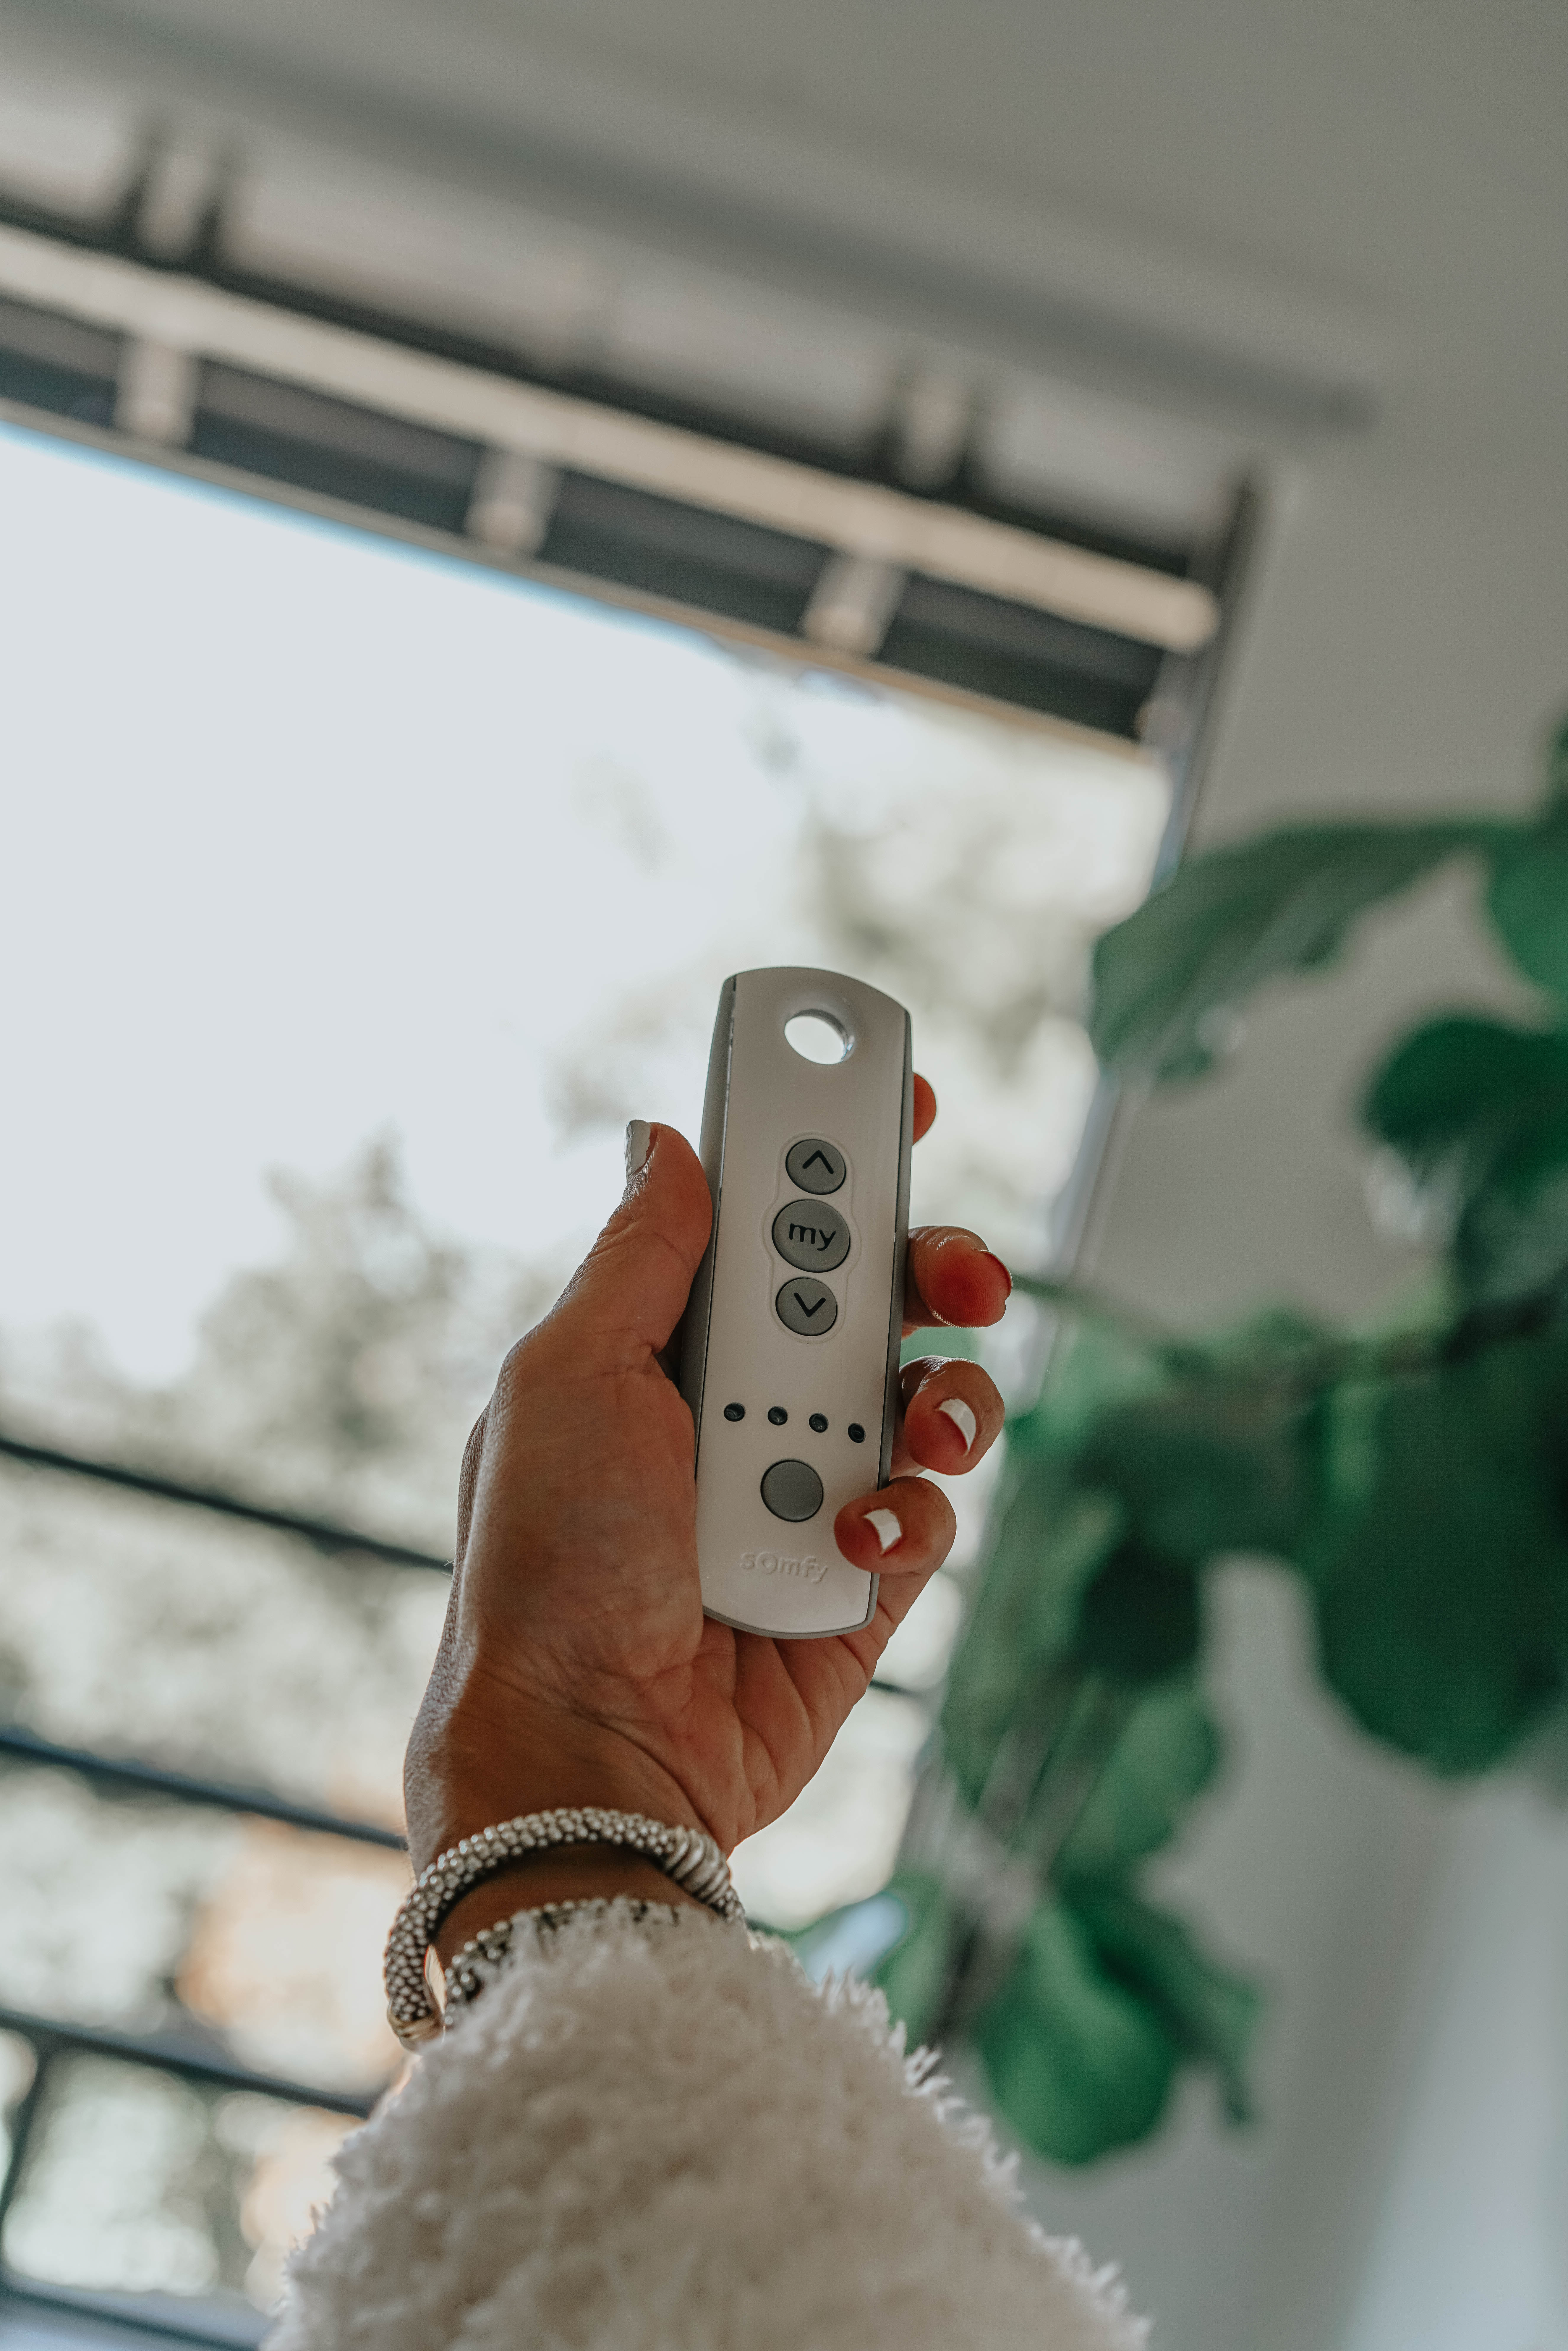
6)  The powered shades also can work with your phone, Alexa, Google Home or a sun sensor.
7)  The dependable motor within the e-Bopp shades are powered by Somfy motors.  Somfy is the world leader in automated control.

When ordering your shades, go to e-Bopp.  Study the type of shade you need, black out/light diffuser or solar shade.  You will also select the fabric and mounting colors.  You may order samples as well.  Depending on the type of window you have, you will then select an inside mount which installs the shade inside the existing window frame or an outside mount which will be installed on the wall or ceiling.  The measurement will be different, so make this decision before ordering.  Fortunately, the customer service at e-Bopp is personal and you can send them a picture and they will identify the exact measurements needed for the window, for you.  We really recommend reaching out to them before you finalize your order.  They always say measure twice!

Our experience with e-Bopp was beyond helpful.  They answered our questions as needed and now that we have the shades installed we can sleep much better!  They are made in the USA as well! Think of it as a great present for your home. See the below discount code for my readers.

XO

Shalice

e-BOPP is giving my followers a discount! Use code Shalicenoel for 10% off

Gifts for the Home

by Shalice Noel

1 // 2 // 3 // 4 // 5 // 6 // 7 // 8 // 9 // 10 // 11

Master Bedroom:

Amazon linen duvet // Sheets // Bed // Small Lamp // Art 40 x 54 // Large throw pillow // Plants // Vase // Down Alternative Duvet // Lacoste Chevron Coverlet // Chloe dupes

Kitchen Reno 101

by Shalice Noel

Make sure to check out our house tour on IGTV before you read this post.  It will show you the best before content.  When we purchased our new home we knew a kitchen renovation would be in our near future.  We held off renovating it for half a year to really get a feel for what was working and what didn’t work in the existing kitchen.  What we discovered was the kitchen had too many cabinets, it was dark and we really wanted seating at the large island.  The multi-colored finishes was an eyesore and oh…did I mention…never own white laminate countertops.  Those babies were stained within a month of us moving in.  No joke. The pomegranate stains never came out!

As we started the design process for the kitchen, we considered the modern aesthetic we typically like with some touches of drama.  We did lots of pinning on Pinterest for a design wish list.  However, our house has a distinct style and we wanted our new kitchen to reflect its unique style. We gave up some ideas for the sake of a holistic home design.  We were inspired by simple, bright Danish style kitchens with neutral colors to harmonize our existing terrazzo tile flooring and modern Asian home aesthetic. Mission, accomplished.

We liked the layout of our kitchen and the original custom cabinets were in great condition, so we chose to resurface the cabinets with new soft close doors.  We chose Birch wood slab doors and Cambria “Whitehall” quartz counters to keep the kitchen bright and neutral.  A nice thing about our renovation is that we were able to keep our appliances.  That was a huge cost saver.

Reid and I are 100% responsible for the design of our kitchen.  We used a sketch-up model to visualize our material choices but most of all used the simple modeling tool to design our custom island.  My favorite part of the kitchen is the new island.  We see a curve trend coming to kitchen designs.   Do you remember roll top desk?  Well here is our island secret.  The sides of the island are cladded in tambour panels.  This is the same material used to make the old roll top desk our Grandma’s owned and loved.  We love the idea of using something for other than what it is intended for.  We can’t wait to sit at the island, drink coffee and work on our laptops.

The design of the backsplash was a tough decision.  There are so many options and can easily go the wrong direction.  We debated using tile, but the grout lines bothered us.  We thought about German shmear stone veneer, but thought it would be impractical to clean.  We considered Calcutta marble, but thought the veins would compete with the terrazzo floors.  So in the end, we chose the simple white route.  We continued our countertops up 30” for our backsplash to align with the bottom of the hood.  We also chose to go simple with the drywall hood.  We used an internal hood that is already enclosed.  Therefore the drywall surround is just a shell.  It took Reid about 3-4 days to frame and drywall.  We are really happy with how it turned out.  Next step is a floating shelf flanking each side of the hood.

For lighting, we wanted gold accents.  Our house already has a lot of geometric shapes, so we looked for lighting shaped with strong geometry.  Enter light above the island.  We liked the skinny geometry of the LED lights with the strong geometry and the fact that you can see through it.  The pendant provides a good amount of light as well.  We then added three identical Tom Dixon Copper Round Pendants.  They hang perfectly over the sink and in front of window.  We chose gold accent colors because we love how it pairs with the birch wood cabinets.

Let us know your kitchen questions.  I’ve sourced all I can think of below.  Please reach out with questions or just hire Reid to help!

XO SN

Wood tambour // Chandelier above the island // Countertop: Cambria “whitehall” // Cabinet refacing // Lights above the sink // Sink (which I love!) //Faucet by Moen // Counter top Chairs // Hardware // Hood insert

8 Homeschooling Must Haves

by Shalice Noel

1. Cute desk under $400

2. MAP

3. Desk organizer

4. Kids chairs

5. Globe

6. Timer

7. Desk under $150

8. Basket on wheels

To say this year has been a whirlwind of change would be an understatement. This year we are homeschooling and it isn’t easy but I’m thankful everyone is in one place. Many of you requested I round up homeschool must haves such as desks here on the blog. Viola! Click the image below to shop!

Other popular posts:

5 lululemon favorites

I interviewed my sister who moved to England with her family of 7!

My friend’s successful embryo adoption

Killer broccoli salad

My diet secret: celery juice

My Amazon Home picks

by Shalice Noel

Pouf /and this knit pouf is a bestseller! / Shag rug // Peonies // Tom Ford Book // Planter // Faux cactus // H blanket // Candle // Marble coasters // Wishbone chairs

So many good home finds at Amazon, from poufs for the girl’s room, to a shag rug. I’m also using these baskets to organize.

Which is your favorite?

How to German Shmear

by Shalice Noel

Large basket // Floor Pouf // Two-toned basket // Shag rug // Gold Mirror // Similar Cactus // Faux fiddle leaf fig

German Shmear

Our basement room has a beautiful view of the mountains, but the space needed some love.  First up, our plans were to refresh the dark and drab stone fireplace.  Reid was hesitant covering up the natural stone at first but after cleaning the surface we noticed the previous owners must have altered the stone somehow.  

So with that, we took the German Shmear plunge.  I’ll admit You Tube and Pinterest helped A LOT in convincing us to take the dive. Yes, everyone is doing this right now and I still worry 20 years from now we will look back and say, ”why did we do this”? 

Without risk, you will have no reward and frankly, design is a risk.  So take the risk, my friends.

Here is a quick shopping list and step by step German Shmear process.

Shopping List

o   Mortar (Tile Grout) – We used white.  (White is typical for German Shmear)

o   Mixing Bucket

o   Mixing Stick or Drill Bit

o   Big Sponges

o   Cheap Paint Brushes (They will get destroyed)

o   Rubber Gloves (This is very messy)

o   Painters Tape

o   Trowel and or Spackle

o Putty knife

o   Ziploc Bags

Process

1.      Wash surface with water, bristle brush and sponge.

2.      Protect surrounding area with painter’s tape.  We used flatten cardboard boxes to lay around the hearth for protect.

3.      Mix mortar per package direction.  Mix to a consistency of thick frosting.

4.      Use brush to spread mortar onto surface.  Brushes work well for smooth surfaces.  But honestly your hands work the best.  So don’t be afraid to just dig in and shmear.  We put Ziploc bags on our hands and literally grabbed the mortar and slapped it onto surface.  Fill grout marks so that the mortar is flush with the stone/brick surface.  A trowel and spackle tool can also be used.  Beware, this is messy.  But we are washable.  (The mortar also is water soluble and does clean up with a wet rag pretty easily, just in case)

5.      Let mortar dry per package directions

6.      Just before mortar is complete dry.  Take wet sponge and brush entire surface till smooth, to your liking.  This is where the artist comes out.  Some like it rough and some like it smoother.  Go ahead and express yourself.  Exactly like styling an outfit.

7.      Remove the protective barriers and Viola!  A masterpiece.

Great job!  You are now a pro!

Tag me in your DIY photos.  I would love to see how your spaces turn out.

1 / 2 / 3 / 4 / 5 / 6 / 7 / 8 / 9 /

10 / 11 / 12 / 13

Every morning we make pancakes! I use coconut oil to grease the pan and love all my kitchen gear especially my All Clad pots and pans – on sale!

Below is my recipe for maple flavored syrup for the kids, and cheaper than maple syrup.


1 cup water

1 cup white sugar

1 cup brown sugar

1 tablespoon maple flavored extract

Bring the water, white sugar, and brown sugar to a boil in a saucepan over medium-high heat. Reduce heat to medium-low, and stir in the maple extract; simmer 3 minutes longer. I love this recipe, let me know if you try it! My shop page is open 24/7! Happy Weekend!

Master Bedroom:

Amazon linen duvet // Sheets // Bed // Small Lamp // Art 40 x 54 // Large throw pillow // Plants // Vase // Down Alternative Duvet // Lacoste Chevron Coverlet // Chloe dupes

I get a lot of questions about our carpet through out our home. Here’s the official swatch. We like it and it’s super versatile.

Patio Table and Benches:

Benches in dark gray // Wicker Chair // Square planters

Teak Chairs, Planters and Firepit

Firepit // Teak Chairs // Sphere planters

Great Room:

Similar Sofa Sectional // Light // Similar Dresser // Lamps // Circular Vase // Pampass Grass // Dreamcatcher

Acrylic Table and Artwork

Acrylic table // Artwork (I had framed) // Basket underneath // Wood Sculture

On Thursday, we have the privilege of sharing our home with you! Since we bought it at the end of December, it has been a whirlwind.

One of our first purchases was a SECTIONAL. So many friends and decorators alike suggested we purchase the “RH Cloud Couch.” Seemed like a cult favorite so I did some research, which included going to the Restoration Hardware Outlet in Ontario and seeing the couch in person. Yikes, it looked like a sunken-in mess. I told Reid we’d better go back to the drawing board and do more research. I opened it to my readers on stories one day asking for any sectional advice. One reader who happened to be a realtor, suggested Cantoni Design. After more online research on Cantoni, which we were already liking the look of, we found something we think we liked. Since they had two locations in SoCal, one in LA, and one in Irvine, we planned a trip! Honestly, the best advice I can give you regarding couch shopping is to see it in person! Sit on it, stare at it, touch it … it’s too big of an investment to simply see online. It turned out that Irvine had the sectional we liked, so all seven of us drove down to Irvine. As it turns out, we ended up liking another sectional 3x as expensive as the one I originally liked. Isn’t that how it always happens? It took a day or two to convince Reid it was The One, but he finally agreed with me and the rest is history. A commonly asked question I get a lot is how to keep it clean. Honestly, it’s hard. There really isn’t any easy way to keep a couch clean when you have kids, short of never letting them use it.  However, I have a strict no food or drinks in the great room rule. Zero. With five kids it’s nearly impossible not to have a constant mess. But at least that rule keeps the mess confined to dry, non-sticky items that don’t leave stains on the couch. Small mercies, right? 

I’m still working on my office chairs for our family’s new work from home set up. So stay tuned what chairs I actually end up choosing.

Thank you for reading and following along.

Let me know what you think, which room is your favorite?

All the best,

xx Shalice

I’m obsessed with the salty sweet flavors of Pad Thai. Since we aren’t going out to eat, I found a recipe to make at home. It is a healthier version to try without losing the amazing flavor. The recipe is good for 4 people and only takes 30 minutes. Let me know what you think!

Keto Pad Thai

Sauce

3 tbsp fish sauce
1 tbsp rice vinegar
1 tsp chili paste
1 tbsp peanut butter
1 tbsp coconut aminos
2 tbsp lime juice
5 drops stevia

Ingredients

1 16 oz package shirataki noodles
1 lb chicken breast, butterflied and cut into bit sized pieces
2 eggs, beaten
1/2 tbsp ginger, minced
2 cloves garlic, minced
3 large scallions, thinly sliced, keep whites and greens separate
1 1/2 cups bean sprouts

Toppings
1/4 cup peanuts, chopped
1/3 cup cilantro leaves, chopped
  • Wash and dry fresh produce. Thinly slice scallions, keeping whites and greens separated. Peel and mince ginger and garlic. Roughly chop cilantro leaves.
  • Butterfly the chicken breast then cut into small bite sized pieces.
  • In a small bowl, whisk together all sauce ingredients until well combined and smooth.
  • Heat a drizzle of oil (I used sesame oil) in a wok or large pan over medium high heat. Add ginger and garlic and stir fry until fragrant (about 30 seconds), stirring frequently. Add scallion whites and  1 tbsp sambal oelek to wok with ginger and garlic and continue stir frying until scallions have softened about 2-3 minutes.
  • Once scallion whites have softened, add chicken to wok with the ginger, garlic, scallions, and chili paste. Stir fry chicken for 5 minutes or until lightly browned and cooked through.
  • While chicken cooks, beat 2 eggs until well combined. Drain and rinse shirataki noodles thoroughly under hot water for about 2 minutes.
  • Once chicken has finished, remove the chicken stir fry the wok or pan and set aside. Add shiratki noodles to the wok and stir fry noodles until firm, about 5-7 minutes.
  • Once noodles have cooked, add the beaten eggs to the wok with the noodles and stir fry for 2-3 minutes until the eggs have cooked. Stir frequently to break up/scramble the eggs.
  • Once eggs have cooked, add the chicken stir fry, pad thai sauce, and bean sprouts to the wok. Continue stir frying for about 2 minutes until all ingredients are well combined.
  • Top with scallion greens, crushed peanuts, and cilantro to serve. Enjoy!

Photography by Felicia Lasala // Adapted from Joy Filled Eats // Optional: Shiratki noodles can be used OR “Healthy Noodle” made with Konjac.

See what I’m shopping below on my Shop page open 24/7:

5 Ways to Sleep Better

by Shalice Noel

Just recently Reid and I upgraded to an ALLSWELL memory foam California King mattress. All previous eleven years of our marriage, we’ve slept on a full, so this was a bit of an upgrade, and by a bit, I mean a huge upgrade.  Reid still isn’t super happy about the large size (I give it another couple of days) but he can’t deny the great sleeps we have been enjoying. We sleep so well, even with Levi’s 1am wakeup calls and the random sleepy child. And honestly? A good night’s sleep can change. your. world. So, if you’re like me, and have slept in the same mattress for over a decade, go mattress shopping! 

Here are a few tips for a better nights sleep!

1. Invest in a good mattress! (Repetition for those who haven’t had a good night’s sleep.) 

2CBD does wonders for my sleep. I take 1 gel tablet before bed and I sleep like a baby which is huge for me, a light sleeper since birth. Use code: shalicenoel

3. Magnesium – I take CALM. I sleep better and it aids in regularity. I find taking this while traveling is so helpful. Now I don’t leave home without it; it has become part of my routine.

4. Take a bath. Baths are relaxing, especially with a bath bomb! Or a shower … but showers wake me up? So, you know, you do you. 

5. Exercise during the day (this is scientifically proven!). Even 15-20 min of light walking or jogging makes a difference. Just get out and move!

6. Use blackout shades. Light wakes you up (science! again!), and darkness sends messages to your body that it’s time to slow down, retire and rest. If you don’t have shades, use an eye mask.

But always looking for more ideas! What gets you a good night’s sleep?

I’m doing a lot of online shopping this weekend! Here’s a link to my Amazon page, and my shop page is open 24/7. Stay healthy! A happy heart is good for the immune system.